Browse by category
DRILL OVERVIEW · LONG GAME CARD 2
Alignment: Two Sticks
Your drill at a glance
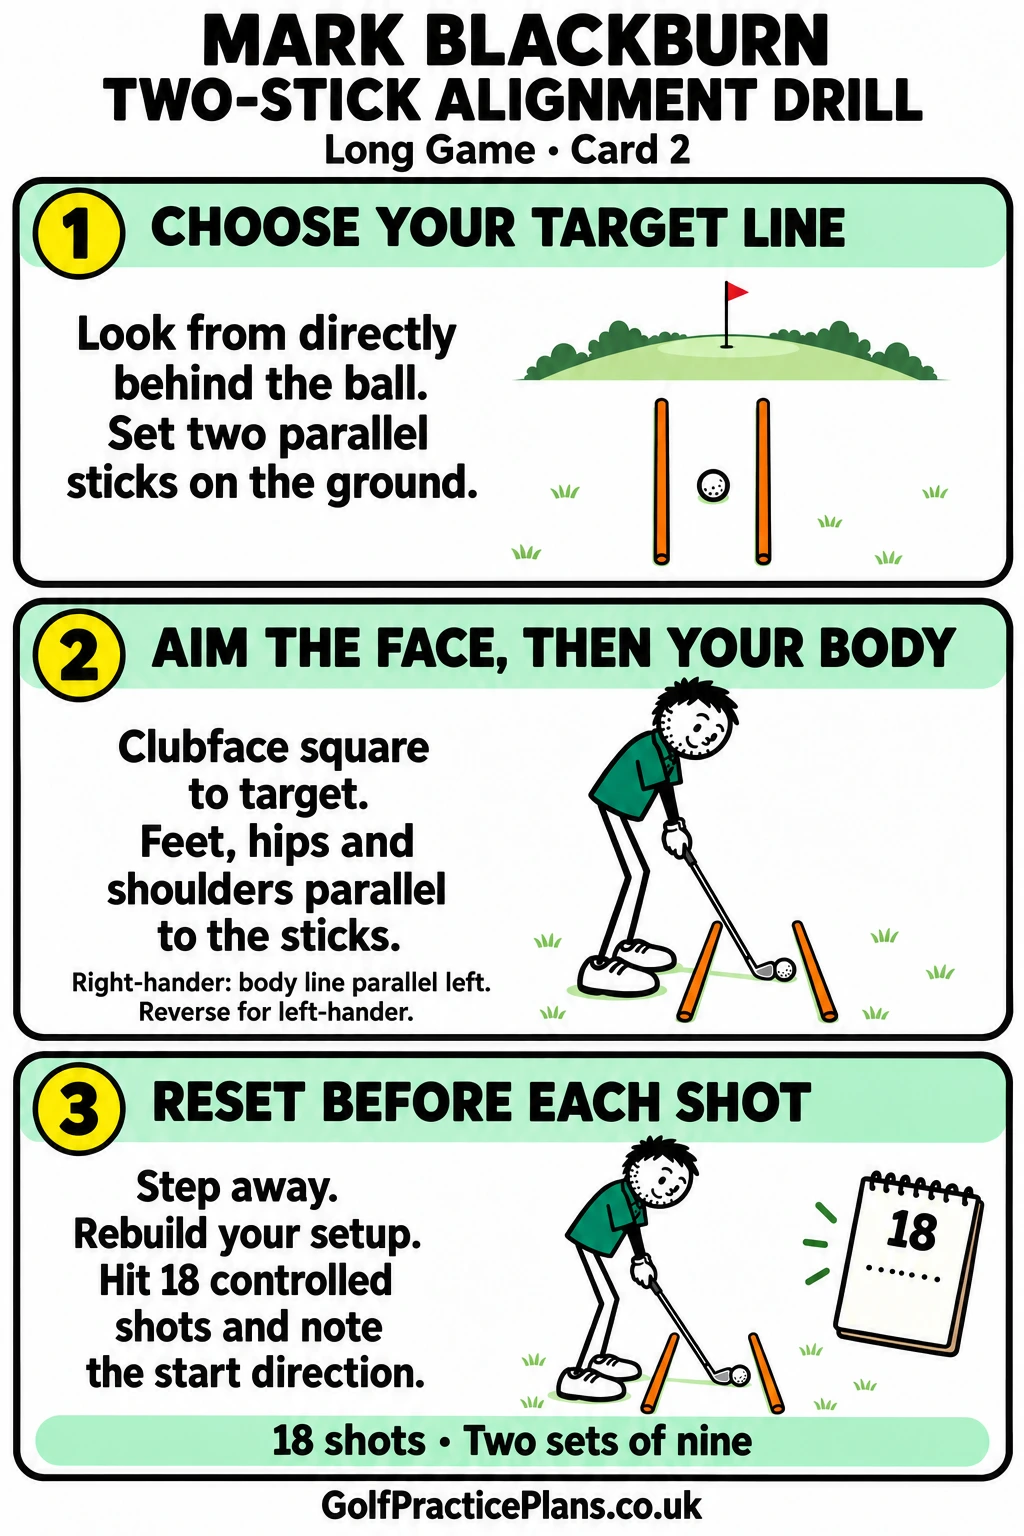
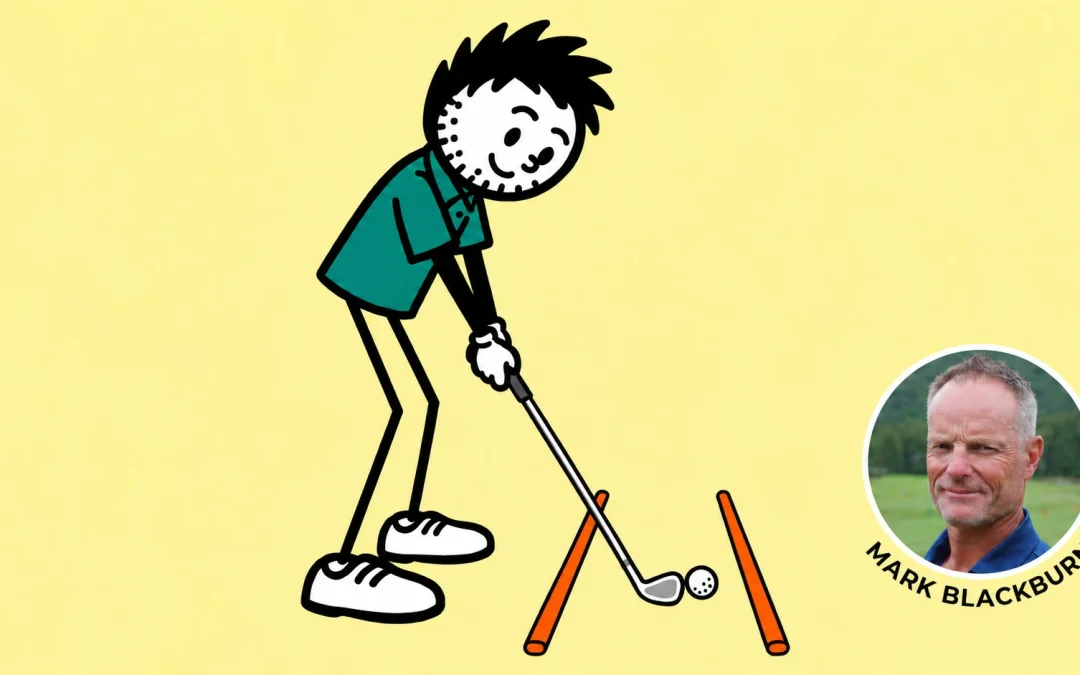
This is Long Game card 2, Alignment: Two Sticks, in the Golf Practice Made Easy App.
A good swing can still send the ball towards the wrong place if your setup is misaligned. Mark Blackburn’s two-stick drill gives you a clear reference for the clubface and your body before you swing. Start behind the ball, establish the target line and use two parallel sticks to check your setup.
Blackburn was voted No. 1 by fellow instructors in Golf Digest’s 2026–27 ranking of the 50 Best Teachers in America. His Titleist lesson below shows how a simple alignment station can help you practise with a more consistent starting point.
Jump to the target line, clubface and body alignment or the 18-shot session.
Watch Mark Blackburn’s lesson.
In Titleist’s Accuracy Begins with Alignment, Blackburn demonstrates two parallel reference lines using alignment rods or spare clubs. The 18-shot practice session below is our App adaptation.
Watch the lesson on YouTube or visit Titleist’s lesson page.
Step 1. Choose your target line.
| Action | What to do |
|---|---|
| Look from behind the ball | Stand directly behind the ball and choose a clear target, such as a range flag or marker. Establish the ball-to-target line before walking into address. |
| Lay the first stick | Place one alignment stick flat along your intended toe line. It should run parallel to the ball-to-target line, rather than point directly from your feet at the flag. |
| Add the second stick | Lay a second stick parallel to the first, on the far side of the ball. The ball and clubhead sit between the two rails, with room to swing without striking either stick. |
| Use spare clubs if needed | Blackburn also demonstrates the reference lines with club shafts. Lay them flat and keep them clear of the hitting area. |
Your cue: “Choose the line from behind.” Looking sideways towards the target from a bent address posture can make correct alignment feel unfamiliar. Use the view from behind and the two reference lines to establish your setup.
Step 2. Aim the face, then your body.
| Action | What to do |
|---|---|
| Aim the clubface | Place the clubhead behind the ball with the face square to the target line. The leading edge should be perpendicular to that line. |
| Build your stance | Set your feet along the near stick in a normal, comfortable stance. Check that your hips and shoulders follow the same general direction. |
| Check the two rails | For a right-hander, the body line is parallel left of the ball-to-target line. For a left-hander, it is parallel right. The two rails stay alongside one another. |
| Swing normally | Once you have checked your setup, make a comfortable iron swing. Avoid steering the club to force the ball onto the target. |
Quick alignment checks
| What you notice | What to check |
|---|---|
| Your feet point directly at the flag | Rebuild the two parallel rails. Your feet are beside the ball, so their line is offset from the ball-to-target line. |
| The sticks cross or form a V on the ground | Check them from behind. They should be parallel on the ground; perspective can make parallel lines appear to converge in a picture. |
| Your shoulders point differently from your feet | Relax, step away and rebuild the setup. Check hips and shoulders as well as the toe line. |
| The setup looks correct but the ball curves | Note the start direction and curve separately. Alignment is one part of the shot; face delivery, swing path and strike also affect the flight. |
Keep this session focused on neutral alignment. Blackburn’s lesson also discusses using different face-and-body relationships to shape draws and fades. Explore those deliberately after establishing a reliable reference, rather than mixing several shot shapes into your first alignment set.
Step 3. Reset before each shot.
| Action | What to do |
|---|---|
| Start a fresh routine | Step away after every shot. Return behind the ball, choose the target line and rebuild the setup before playing again. |
| Complete two sets of nine | Hit 18 controlled shots with the same club and target. Pause after nine to check that the sticks have not moved. |
| Observe the start direction | Notice whether the ball starts left, on or right of the intended line. Keep the curve and finishing position as separate observations. |
| Review one thing | At the end, decide which part of the setup needs more attention: choosing the line, aiming the face or arranging your body. |
This is an alignment practice session, rather than a points test for hitting the target. A completed routine and the resulting ball flight give you different kinds of feedback: keep both in mind when reviewing your practice.
In the Golf Practice Made Easy App, open Long Game card 2, Alignment: Two Sticks, from My Cards. Choose Score your practice to record your session. Compare future sessions using the same club and target.
George’s Practice Tip.
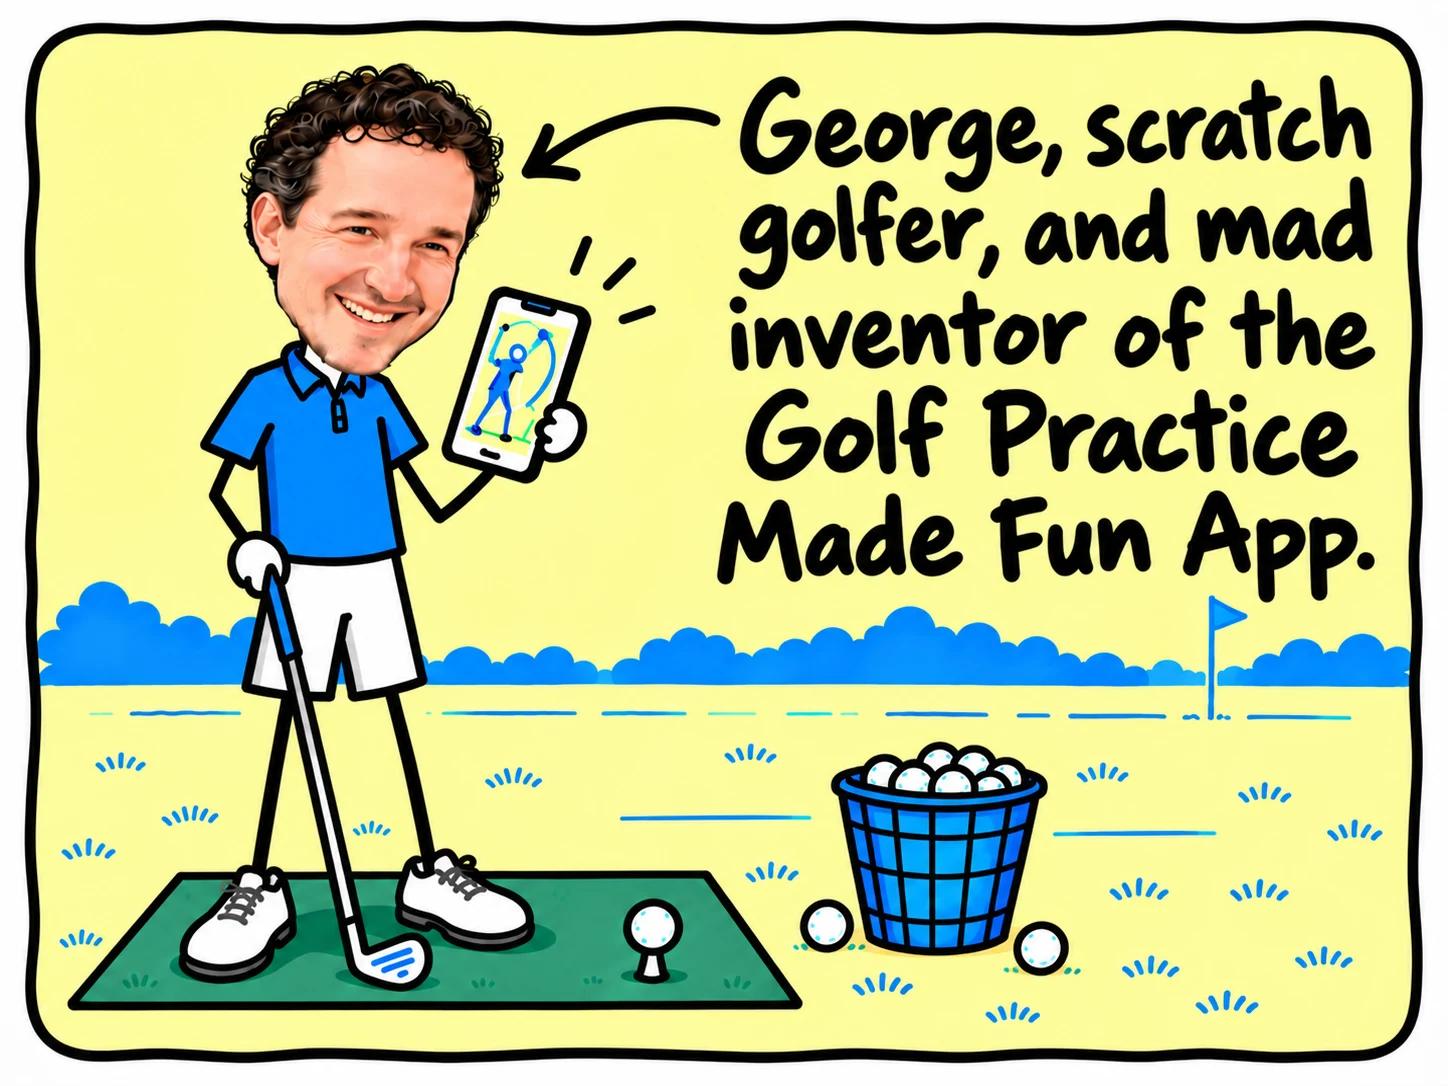
Give the setup a fair test before changing the swing. If a shot starts off line, check the face and body references first. Then make another normal swing. The useful habit is stepping away and choosing the line again, so your practice does not become eighteen balls from one gradually drifting stance.
Prefer a simpler station? Try Alignment: One Stick, now Long Game card 133. When you are ready to explore a different shot shape, use the Draw-to-Target Rehearsal.
Lesson source: Mark Blackburn’s Accuracy Begins with Alignment for Titleist. The illustrations and 18-shot session are our practice adaptations.
MAKE THE NEXT BUCKET COUNT
Pick a card. Practise with purpose.