
Browse by category
DRILL OVERVIEW
AimPoint Fingers Drill: Feel the Slope, Choose Your Aim
Your drill at a glance
This drill is from the Golf Practice Made Easy App.
Practise linking the slope you feel to a clear aiming direction. AimPoint uses your feet to estimate slope and your fingers as a calibrated visual reference for the aim point. Use the demonstration to understand the sequence, then test your read with 18 practice putts.
Step 1. Watch the slope-and-fingers explanation
Watch David Orr’s explanation in Eric Cogorno’s green-reading video from 8:24. Notice the slope-percentage discussion and how the fingers relate to the read you have already made.
Step 2. Feel the slope, then use your fingers to aim

Understand what slope percentage means
Slope percentage is the vertical change divided by the horizontal distance, multiplied by 100. For example, a one-foot rise across 100 horizontal feet is a 1% slope. The same idea works in metres or any other consistent unit.
| Rise across 100 feet | Slope percentage |
|---|---|
| No rise | 0% — level |
| 1 foot | 1% |
| 2 feet | 2% |
| 3 feet | 3% |
| 4 feet | 4% |
These are examples of the calculation, rather than measurements of the green you are standing on. A slope percentage is not the same as an angle in degrees.
Feel first
Choose a gently breaking putt on a practice green. Stand comfortably where you can feel the side-to-side slope through your feet, as demonstrated in the video. Notice which side feels lower and how much tilt you feel. Start with a simple slope rather than a putt that changes direction.
Learning to distinguish slope percentages takes practice. If you already have AimPoint instruction, use the slope-feeling routine you were taught. If you are new to it, treat this session as an introduction and a way to observe the relationship between slope, aim and pace.
Use the fingers as an aiming reference

Return behind the ball and use your fingers to picture the aim point on the high side of the hole. In the basic convention, one finger corresponds to a 1% slope estimate, two to 2%, and so on. Holding up two fingers does not establish that the green has a 2% slope. The slope estimate comes first.
The full method also depends on your viewing position, finger width, arm position and the green’s speed. Use the finger placement and calibration you have been taught rather than assuming the same hand position works for everyone. AimPoint’s finger-size explanation describes the need to calibrate this visual reference. For the complete method, use AimPoint’s certified instructor directory.
Roll and learn from the result
Lower your hand, aim the putter face along your chosen starting direction and roll one ball. Watch the starting direction, break and finishing distance. Pace affects the curve, so check the speed of a miss before deciding that your slope estimate was wrong.
What to watch for
| What you notice | What to try |
|---|---|
| Choosing fingers before reading the slope | Feel and estimate the slope first, then choose the visual reference. |
| Treating the fingers as a slope meter | Remember that they display your read rather than measure the ground. |
| Changing your arm position each time | Use the consistent, calibrated position you have learned. |
| A putt finishes well short or long | Review the pace before changing your read. |
| The ball starts away from your chosen aim | Check putter-face alignment and the strike. |
| A complex slope makes the read confusing | Return to a gentle, single-breaking putt for this practice round. |
Step 3. Complete your round
What to do
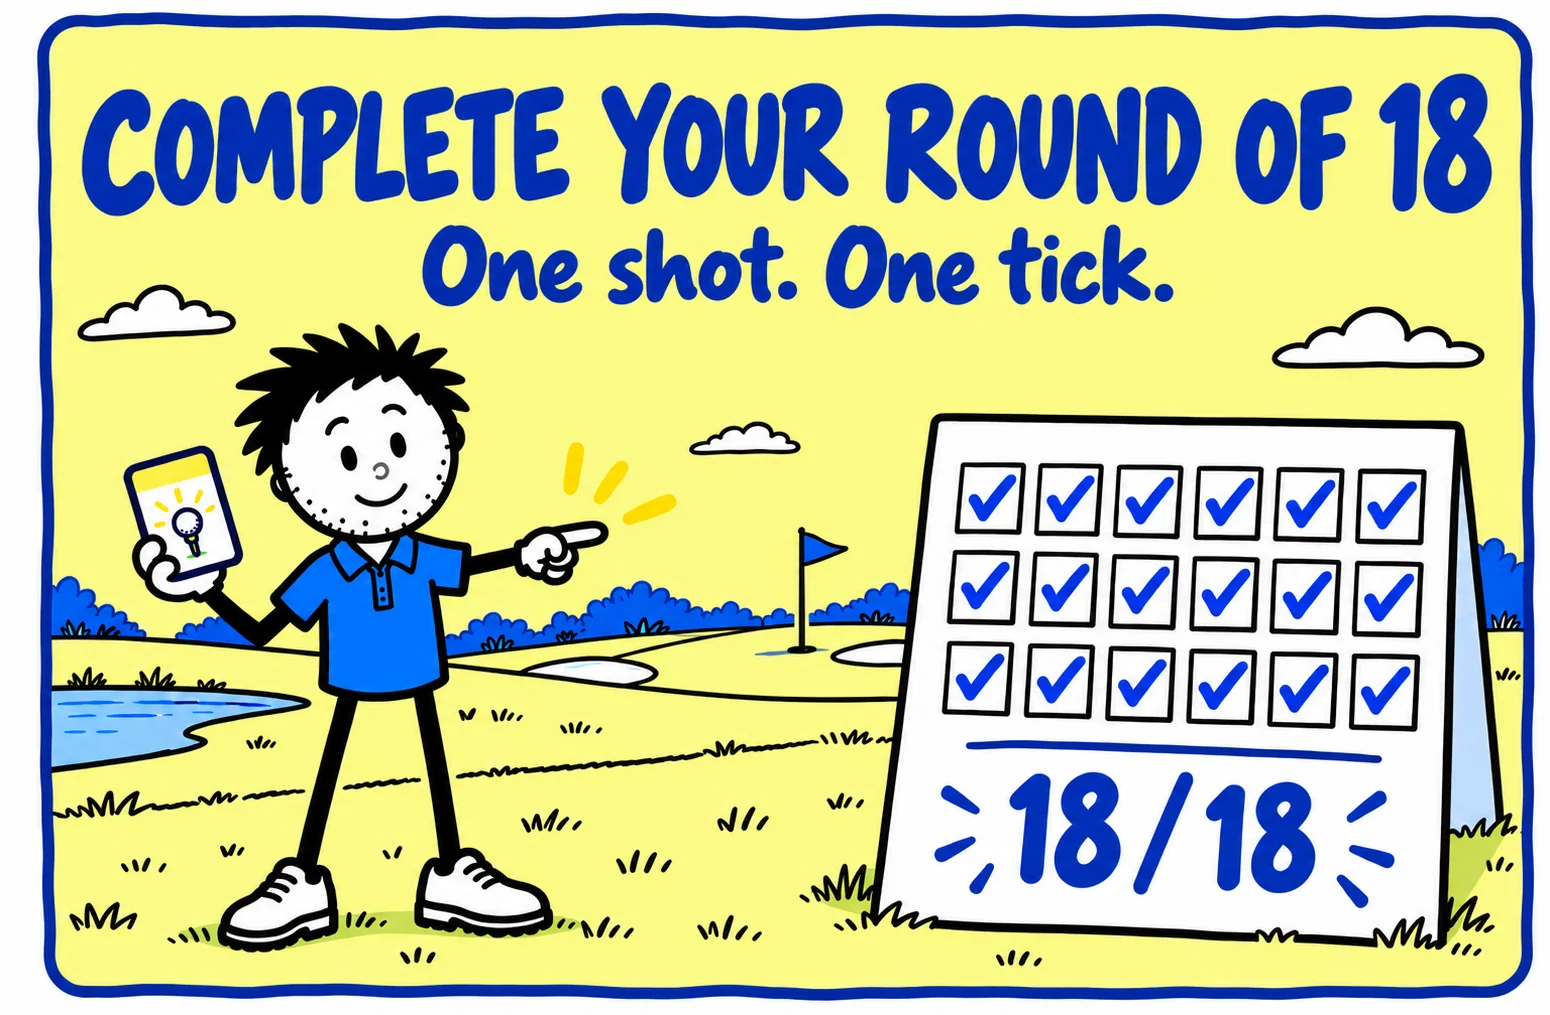
Complete 18 full read-and-putt routines in two sets of nine. Each routine includes assessing the slope, choosing an aim point, setting up and rolling one ball.
| Score | When to award it |
|---|---|
| 1 point | You complete the shot, routine or movement described above. |
| 0 points | You do not complete the attempt. |
George’s Conclusion

I’d keep the first session simple: feel the slope, choose your aim and watch what the ball does. The fingers make your read visible, but they work with the slope estimate and pace. Use each putt as feedback rather than trying to prove the system with one result.
Explore the AimPoint Express Putting Drill, try the Green Reading Targeting Drill, or practise shorter putts with the Clockface Putting Drill.
MAKE THE NEXT BUCKET COUNT
Pick a card. Practise with purpose.