
Browse by category
DRILL OVERVIEW
Clockface Putting Drill: Read the Break, Match the Pace
Your drill at a glance

This drill is from the Golf Practice Made Easy App.
Practise different reads and speeds without changing your distance from the hole. Place six balls around a practice hole, work around the circle and notice how the slope changes each putt. Three circuits give you a simple round of 18.
Step 1. Watch the clockface demonstration
Watch John Howells explain the clockface approach to green reading. Notice the straight uphill reference and how the read changes as you move around the hole.
Step 2. Build your clockface and read each putt

Find the straight uphill reference
Choose a practice hole on a gentle, fairly even slope. Roll a few test putts to find a straight uphill putt. Imagine that position as 6 o’clock, with the opposite downhill position as 12 o’clock.
If you have a putting string, set it above this straight line as a temporary visual reference. Keep the supports clear of the ball’s route and remove the string if it gets in the way of the other putts. The drill also works without it.
Place six balls around the hole
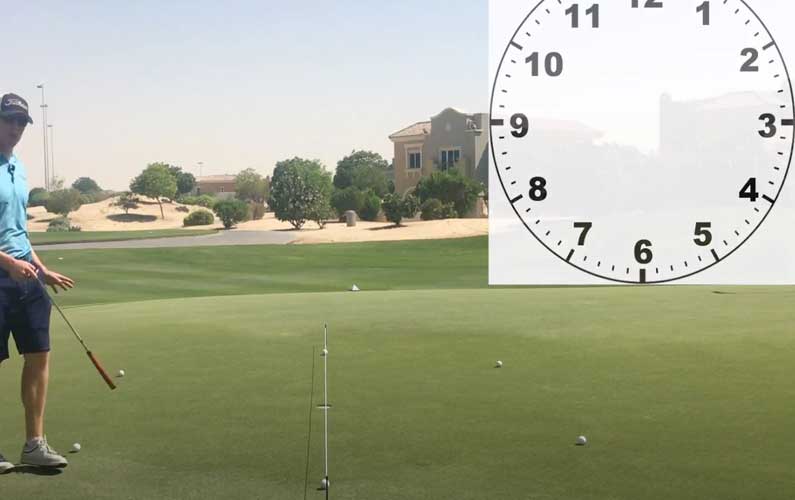
Set six balls at roughly equal distances from the cup, spaced around the circle at 12, 2, 4, 6, 8 and 10 o’clock. Six feet is the distance used here; start nearer if that makes the routine easier to practise. Keep the same distance throughout your round.
Optional tee pegs can mark the six positions so you can replace each ball consistently. Put them just beside the starting spots rather than in the putting lines.
Use the clock as a guide

The table below describes a simple, even slope with 6 o’clock on the low side. Left and right describe the break as you stand behind that ball facing the hole. Actual greens can have changing contours, so read each putt rather than treating the table as a guarantee.
| Clock position | Expected putt on the simple slope |
|---|---|
| 6 o’clock | Straight uphill. |
| 12 o’clock | Straight downhill. |
| 7 and 8 o’clock | Uphill, breaking left to right. |
| 9 o’clock | Sidehill, breaking left to right. |
| 10 and 11 o’clock | Downhill, breaking left to right. |
| 1 and 2 o’clock | Downhill, breaking right to left. |
| 3 o’clock | Sidehill, breaking right to left. |
| 4 and 5 o’clock | Uphill, breaking right to left. |
Read, aim and roll
Start at the uphill 6 o’clock position and work around the six stations in one consistent direction. Before each putt, decide how much break to allow and what pace will suit it. Set the putter face on your chosen start line, roll the ball and watch the finish.
Use more stroke for the uphill putts and a gentler stroke for the downhill putts as the slope requires. On the same simple slope, sidehill positions tend to show more sideways break than positions close to the straight line. Pace still affects the amount of curve.
What to watch for
| What you notice | What to try |
|---|---|
| Using the same stroke strength at every station | Adjust the pace for uphill, downhill and sidehill putts. |
| Aiming straight at the cup from every side | Pick a start line that allows for the read and pace. |
| The reference putt still curves | Recheck the straight uphill position with a few test rolls. |
| The table does not match the green | Look for a changing contour or choose a simpler slope. |
| Moving the balls closer after misses | Keep the chosen distance consistent for this round. |
| Rushing the last few stations | Use the same brief routine before every ball. |
Another view of the clockface
Eric Cogorno’s green-reading lesson offers another explanation of how a putt changes around the hole.
Step 3. Complete your round
What to do
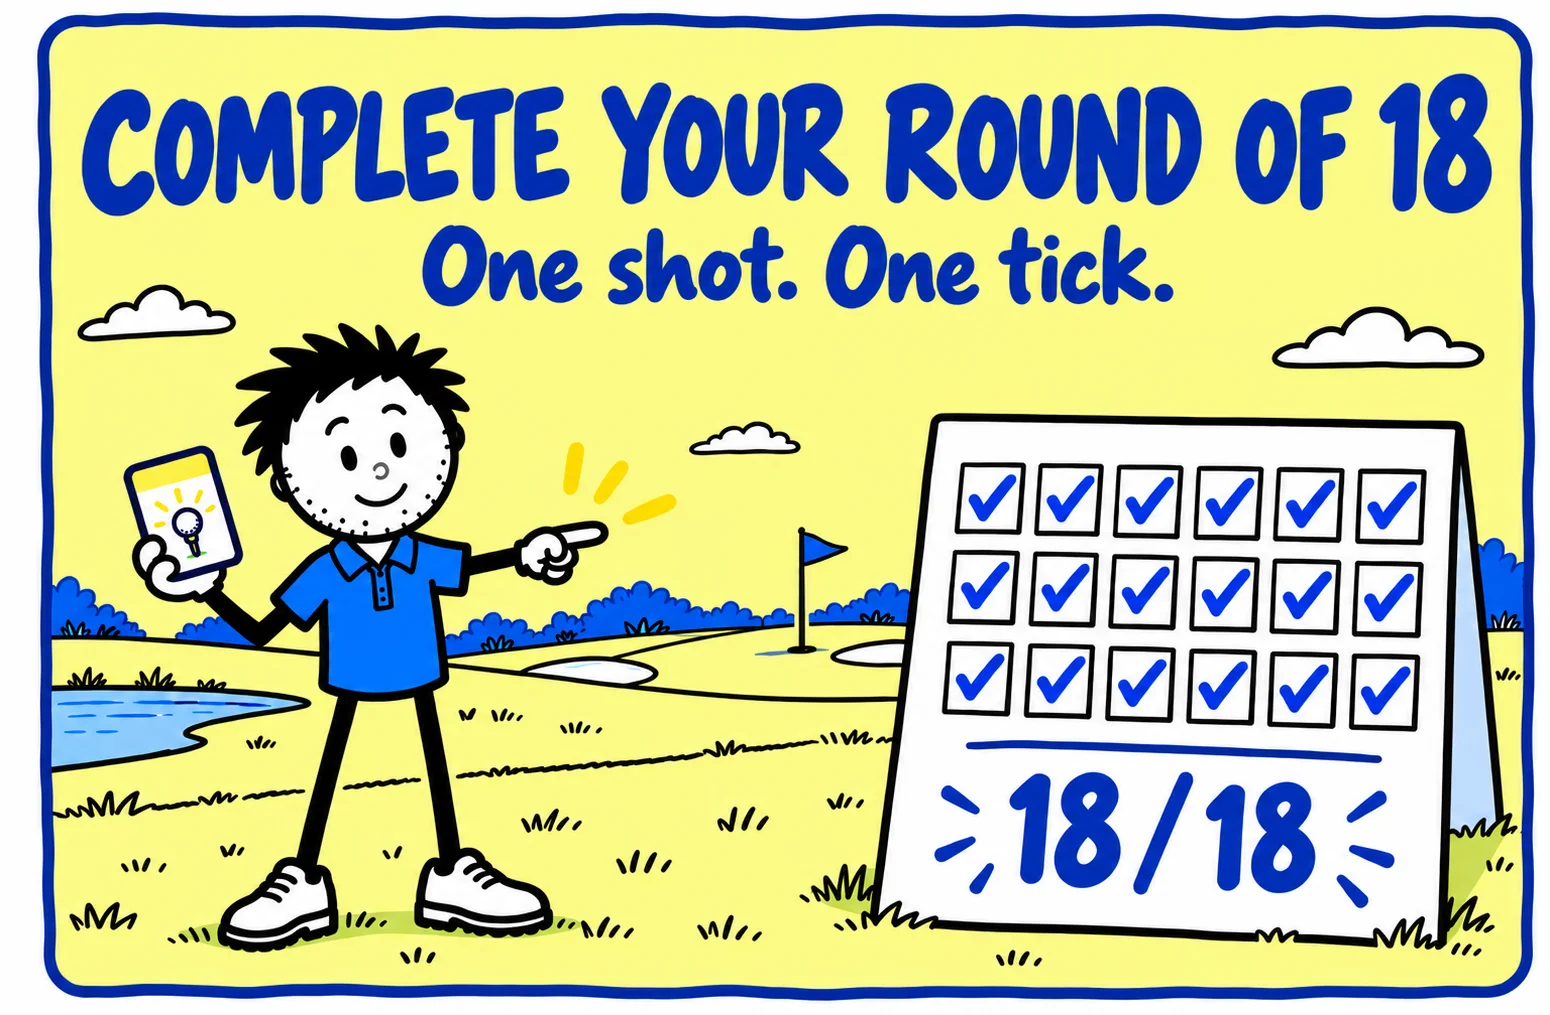
Complete 18 putts: three circuits of the six stations. Take one putt at each station, replace the balls and keep moving in the same direction. Pause after your ninth putt to split the round into two sets of nine.
| Score | When to award it |
|---|---|
| 1 point | You complete the shot, routine or movement described above. |
| 0 points | You do not complete the attempt. |
George’s Conclusion

I like this drill because the distance stays familiar while the putt keeps changing. Give every station a fresh read and let the result tell you whether the line and pace worked together. Three steady circuits are more useful than rushing through a pile of balls from one spot.
Try the Find the Straight Putt Drill, explore the Green Reading Targeting Drill, or practise pace with the Distance Control Putting Drill.
MAKE THE NEXT BUCKET COUNT
Pick a card. Practise with purpose.