

Reading Greens Using Rulers: Hole More Putts
Picture the break
Make your putting read visible. Lay out rulers to picture the starting direction and the curve towards the hole, then compare that picture with the ball’s roll. Finish by putting without the guides so you practise seeing the line for yourself.
↓ Download free infographicSave to your device or print for practice.

Step 1. Watch the rulers demonstration
Step 2. Lay out your read and test it

Choose a gentle breaking putt
Start roughly 15–20 feet from a practice hole on a gentle slope. Read from behind the ball and add a low-side view to judge uphill or downhill. Choose the starting direction and pace you expect to bring the ball close to the hole.
Use a quiet part of the practice green and keep your setup clear of other players. A simpler slope makes it easier to compare your picture with the actual roll.
Use rulers to show the start direction
Lay a few rulers end to end along your chosen initial direction. For a putt that curves from right to left, that direction will usually be to the right of the hole; reverse it for a left-to-right putt. Think about pace as well as slope when choosing how far outside the hole to aim.
The start line is an aiming direction, not a promise that the ball stays straight for a fixed distance. The curve can begin gradually, and different slopes and speeds produce different paths.
Picture the curve with a disc and more rulers
Place a flat rubber disc beside the part of the route where you expect the curve to become most noticeable. Arrange more rulers to suggest the remaining route towards the hole. The disc is a visual reference, rather than an exact point at which the ball suddenly changes direction.
Step behind the ball and picture the complete roll. Then move the rulers and disc to one side, or remove them, so the ball can roll freely on the grass. Putt beside the guides, rather than over them.
Roll, observe and adjust
Make your putt at the chosen pace. Check three things: whether you started it in the intended direction, whether the pace was suitable, and whether it curved as expected. Adjust your visual layout if the result suggests a different read.
Try a few learning rolls with the guides, then remove them and choose a fresh position. See whether you can picture the line without the equipment.
| Guide | What it helps you see |
|---|---|
| First rulers | The direction you want the ball to start. |
| Rubber disc | A reference beside the part of the curve you want to picture. |
| Remaining rulers | The route you expect the ball to follow towards the hole. |
A worked example
“This putt should curve left. I’ll aim the first rulers to the right of the hole and use the others to picture the curve. After moving the guides clear, I’ll roll the ball and check the line and pace.”
Watch for these easy mistakes
| Instead of… | Try… |
|---|---|
| Pointing every ruler straight at the hole | Separate the initial aiming direction from the curved route. |
| Treating the disc as an exact turning point | Use it as a visual reference; the ball can curve gradually. |
| Rolling the ball over the equipment | Move every guide clear of the ball’s route before putting. |
| Changing the read after every miss | Check the start direction and pace before deciding the read was wrong. |
| Depending on rulers for every putt | Finish from fresh positions without the guides. |
Your focus: Picture the break
Step 3. Complete your round
What to do
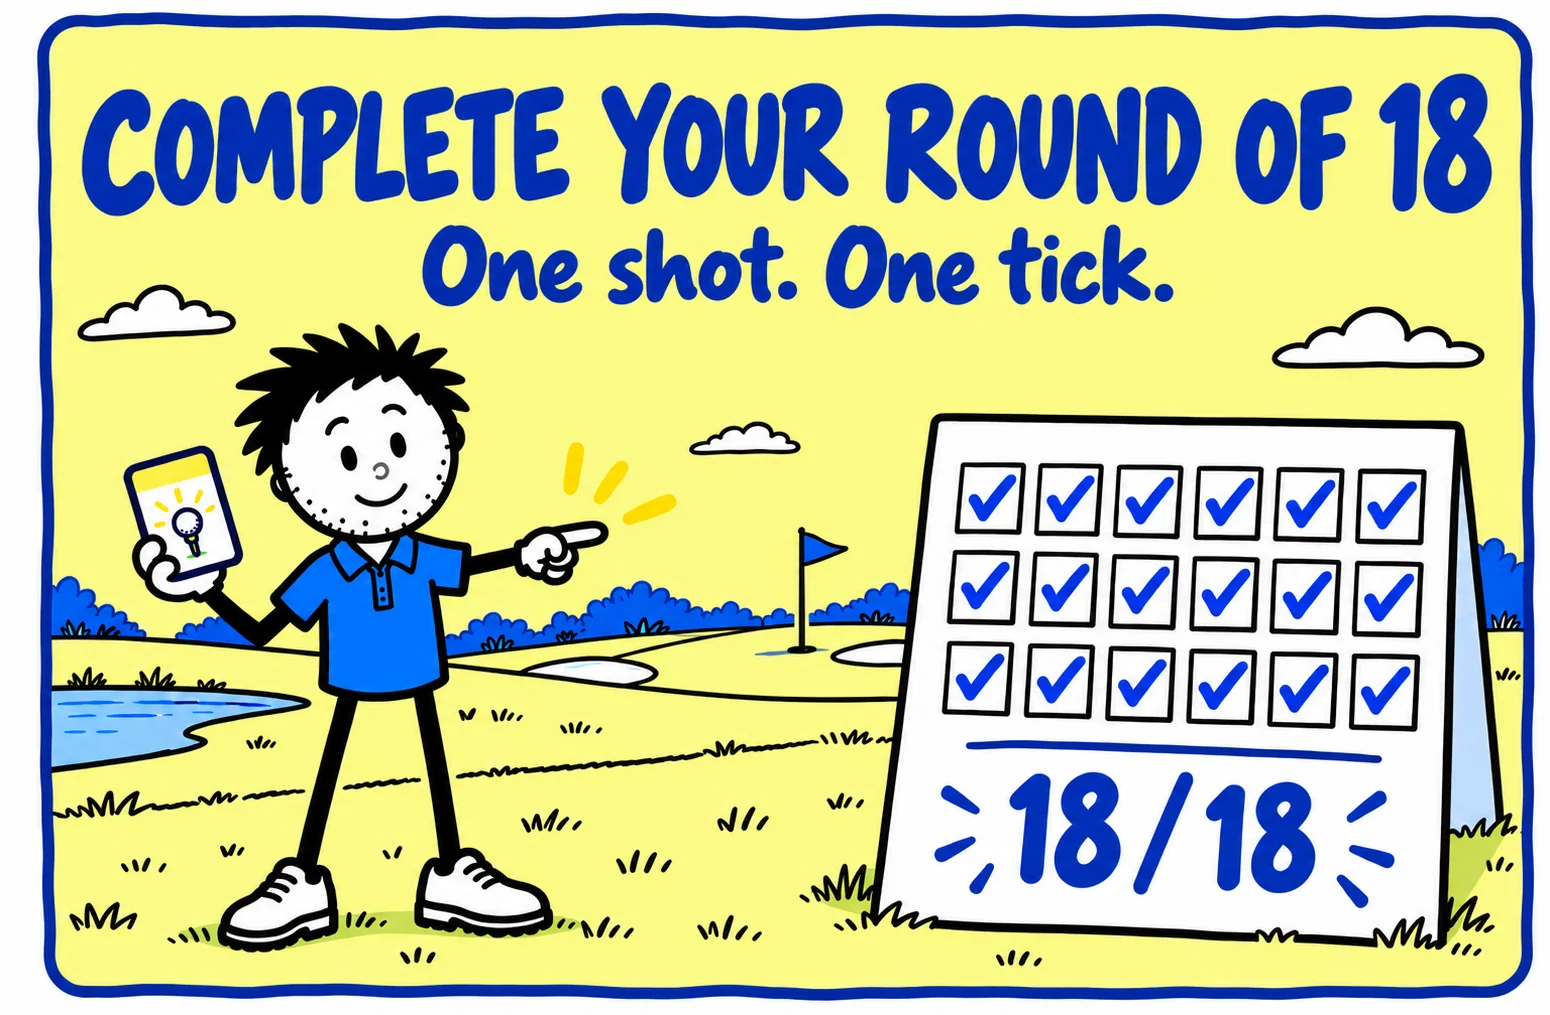
Complete 18 read-and-putt routines. Use the guides during the first nine to make your picture clearer, then remove them for the second nine.
| Score | When to award it |
|---|---|
| 1 point | You complete the shot, routine or movement described above. |
| 0 points | You do not complete the attempt. |
FAQs
How do I set up this drill?
Start roughly 15–20 feet from a practice hole on a gentle slope. Read from behind the ball and add a low-side view to judge uphill or downhill. Choose the starting direction and pace you expect to bring the ball close to the hole.
Use a quiet part of the practice green and keep your setup clear of other players. A simpler slope makes it easier to compare your picture with the actual roll.
What should I focus on during practice?
Complete 18 read-and-putt routines. Use the guides during the first nine to make your picture clearer, then remove them for the second nine.
What should I keep in mind when practising?
I like making a read visible before trying to hold it in my imagination. The rulers give you a picture to test; the ball’s roll gives you feedback. Finish without the guides so that the practice helps when you are faced with a fresh putt on the course.
Give your next practice a purpose.
Find illustrated drills, save your favourites and record your practice in the Golf Practice Made Fun App.
Try the App Free ↗14 days free · No card required