Brad Faxon Green Reading Drill
This Brad Faxon Green Reading drill is from the Golf Practice Planner.
Name
Brad Faxon Green Reading Drill
Category
Putting Practice Drills
Difficulty
2 out of 10
Time
15 minutes
Props
Putter. 1 hole. 1 ball. Golf Practice Planner.
Overview
This Brad Faxon Green Reading drill will teach you how to read greens like the pros.
Brad is always asked the question: “How can I get better at reading greens?” He always says: “You need to spend time on the putting green learning how to read greens.”
Top Putting Practice Tip: Never hit the ball in practice from the same place twice in a row because it causes manipulations. You only get “one go” on the course, so practice having only “one go” in practice.
Steps
Step 1: Watch
Watch the video.
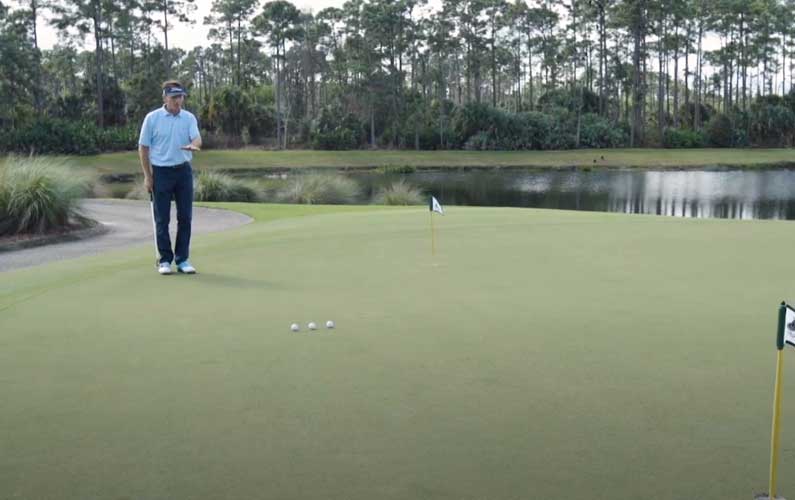
Step 2: 20-Foot Putt
Pace out a 20-foot putt. Understand that the make percentage on tour for a 20-foot putt is only 14%. It’s also roughly the first length putt for all golfers (amateurs and pros). So, if you make 2 out of 10 from 20-feet, that’s Jordan Spieth level!
An average club level golfer (a 17 handicapper) from 20 feet will 3 putt 1 in 4 because they under-read the putt which causes the ball to go 3+ feet wide and/or long. So, if you’re going to make a mistake on the read, make it on the “high side”.
Step 3: High & Low Sides
Brad activates all his senses when reading a green. The first sense he uses is his “eyes”. When he walks onto a green he makes a mental note of the high and low sides.
Step 4: Find The Straight
Look for where the “straight” putt is on the green. If you can find the “straight” putt, it will be easier to read the green.
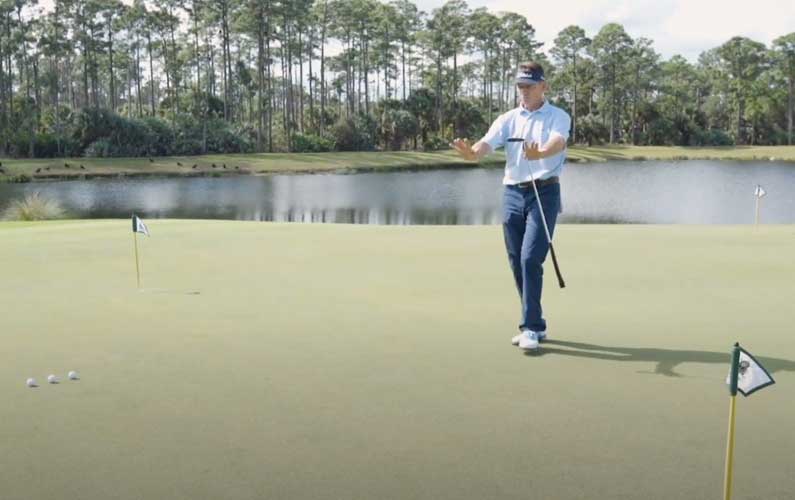
Step 5: Low Side Triangle
The best way to read a green is from the low side. That way you can see what’s coming towards you and feel the slope with your feet. Tiger Woods always said:
“I like to feel where I am with my feet… what’s uphill…what’s downhill.” – Tiger
From the low side, view the slope from 20 feet away (from the middle of the ball and the hole). This forms a triangle between you, the ball, and the hole. From this vantage point, you’ll easily be able to see if it’s up or downhill.
Step 6: Grain
Brad really likes noticing what the “grain” is doing (especially on Burmuda grass).
On the practice green, you can drag your putter head along the grass to see which way the grass is growing (this is not allowed in competition). If the putt is going down the grain, it will be faster. If the grain is against, it will be slower.

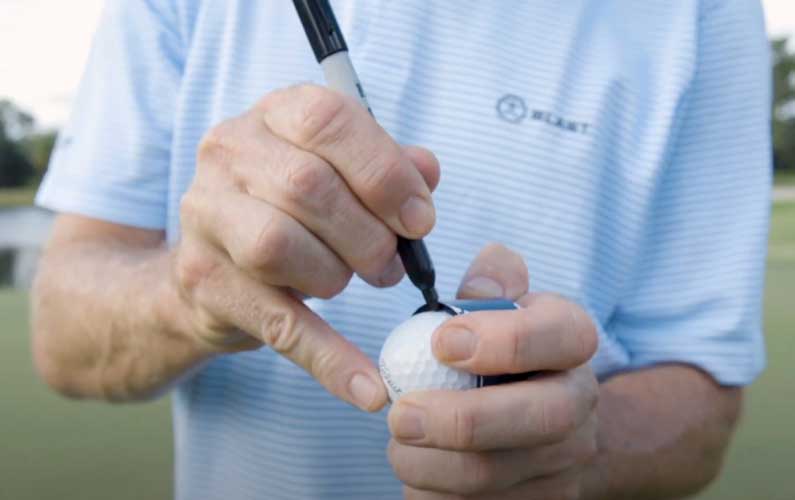
Step 7: Line On Ball
Make sure your ball has a line on it.
Step 8: Behind The Ball
Trust the read from behind the ball.
Step 9: Place Ball Using Line
Place ball using the line. The line aims at the “start line” (not the apex of the break).

Step 10: Tee Peg
Place tee peg near the hole on your start line. That means the “apex” which is usually halfway to the hole is somewhere inside that line.

Step 11: Visualise
Stand behind the ball and visualise the extension of the line curving into the hole. The image below is from my Reading Greens Using Rulers Drill. Using yellow rulers on the green is a great way of training your eyes to visualise the line.

Step 12: Trust
Set up to the ball and trust that all the work you’ve just done has given you the correct read. A great way to add to the trust is by doing the Putting Hypnosis Drill.
Step 13: Keep Score
Keep score. Hit 10 puts from 20 feet. If you make 2 or more putts, you’ve morphed into Jordan Spieth!
Bonus: AimPoint Express Green Reading Method
One of the most popular green-reading methods is the AimPoint Express Putting Drill.
If you enjoyed this free golf practice drill, you might like my Golf Drills Practice Planner. If you're a golf nerd, you're gonna love it.

