Browse by category
DRILL OVERVIEW
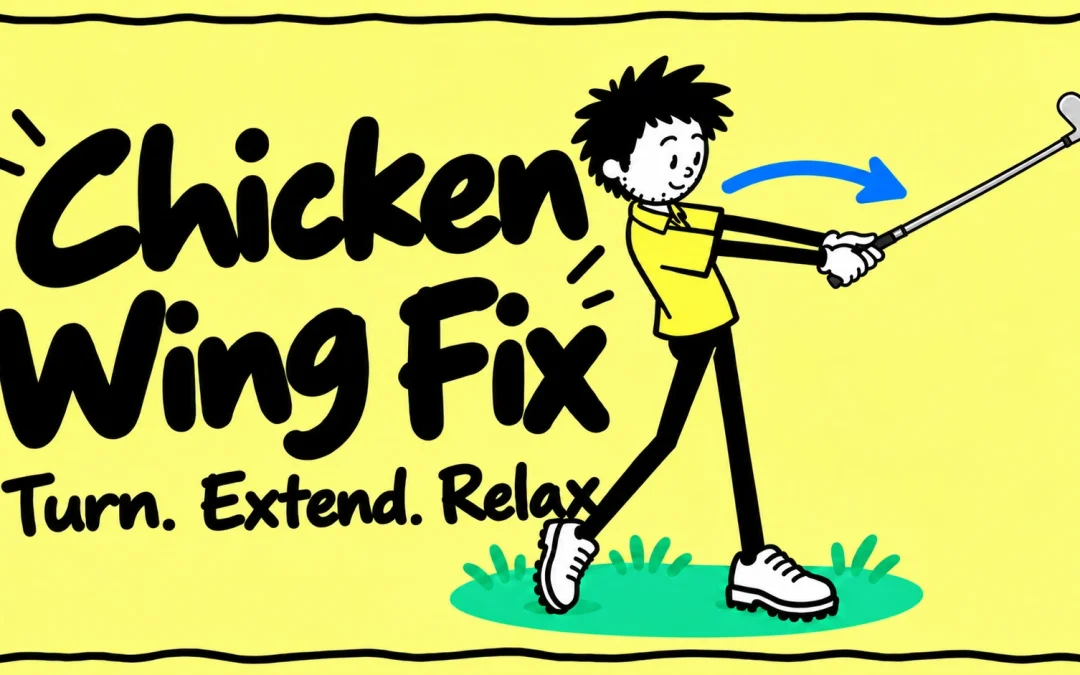
Chicken Wing Fix Drill: Let Your Lead Arm Rotate

Your drill at a glance

The palm-up rehearsal makes lead-arm rotation easier to feel without the distraction of striking a ball. A small body turn helps the arm move through with your chest, giving you an alternative to pulling the elbow away and folding abruptly after impact.
This drill is from the Golf Practice Made Fun App.
Learning to let your lead arm rotate can help you explore a freer follow-through instead of pulling the elbow away from your body. The palm-up rehearsal gives you a simple way to notice that rotation without worrying about striking a ball. Adding a gentle body turn helps the arm move through with the swing rather than stopping and folding abruptly. Take the feel into short, easy shots and observe the contact and finish. This is a useful rehearsal, rather than a guarantee that one finish position fixes every swing fault.
Step 1. Watch the arm-rotation rehearsal
Watch how the coach contrasts a flared lead elbow with a more freely rotating arm. Notice the no-club rehearsal first, then the version with a club.
Step 2. Rehearse a gentle palm-up finish
Recognise the lead-elbow pattern

Look for the lead elbow pulling away from the body as the arm folds after impact. Some elbow bend is normal in a golf swing; the aim is not to keep both arms rigidly straight. Your lead arm is the left if you play right-handed, or the right if you play left-handed.

The demonstration discusses an open clubface and a steep delivery as possible reasons for this pattern. The finish alone cannot tell you the cause. Use the rehearsal to explore the movement, and seek a swing check if the pattern persists.
Compare the follow-throughs

Focus on letting the arm turn as your chest continues through. Avoid trying to cure the pattern simply by locking the elbow or reaching as far as possible.
Start without a club


Take a comfortable golf posture on level ground. Let the lead arm hang near an imaginary ball and keep the other hand relaxed by your thigh. Move the lead arm a short distance towards the target with a small body turn. Allow the forearm to rotate so the palm faces more upwards, then return to the start. Keep the elbow soft and the movement comfortable.
| Rehearsal | What to do |
|---|---|
| Set up | Find a steady stance and relaxed lead arm near the imagined ball. |
| Move through | Turn gently and let the lead arm move towards the target. |
| Palm up | Explore the palm facing upwards without forcing the shoulder, wrist or elbow. |
| Return | Come back to the start and relax. That full movement is one rehearsal. |
Add a club, then both hands

Once the no-club movement feels easy, try a short, slow rehearsal holding a light club in the lead hand. Keep the club clear of the ground and leave plenty of space around you. Do not hit full-speed one-handed shots. Then put both hands on the grip and try small, easy shots, letting the body and arms move through together.
The clubface may look more closed during the exaggerated rehearsal. A stronger rotation is not automatically better: if shots start hooking, soften the feel and check the grip and clubface instead of adding more twist.
Compare the follow-through examples
The next four teaching photographs are labelled with handicap numbers. Use them to compare arm extension and hand-to-body spacing. A photograph of a finish does not predict a golfer’s handicap or guarantee better contact. Find a finish you can reach comfortably with a continuing turn.


Observe the professional examples
These photographs show different players extending through the shot. Notice the relationship between the body turn and the arms. You do not need to reproduce their maximum reach, jump or speed.


What to watch for
| What you notice | What to try |
|---|---|
| Locking the lead elbow | Keep the joint soft. Explore rotation rather than rigid straightness. |
| Twisting the wrist sharply | Slow down and use a smaller arm movement with a gentle body turn. |
| The chest stops while the arms move | Let the turn continue through the small shot. |
| Reaching for maximum width | Use a comfortable finish. More extension is not always better. |
| The ball hooks after adding the feel | Reduce the rotation cue and check the grip and clubface. |
| Shoulder or elbow discomfort | Stop the movement rather than forcing a palm-up position. |
Step 3. Complete your round
What to do
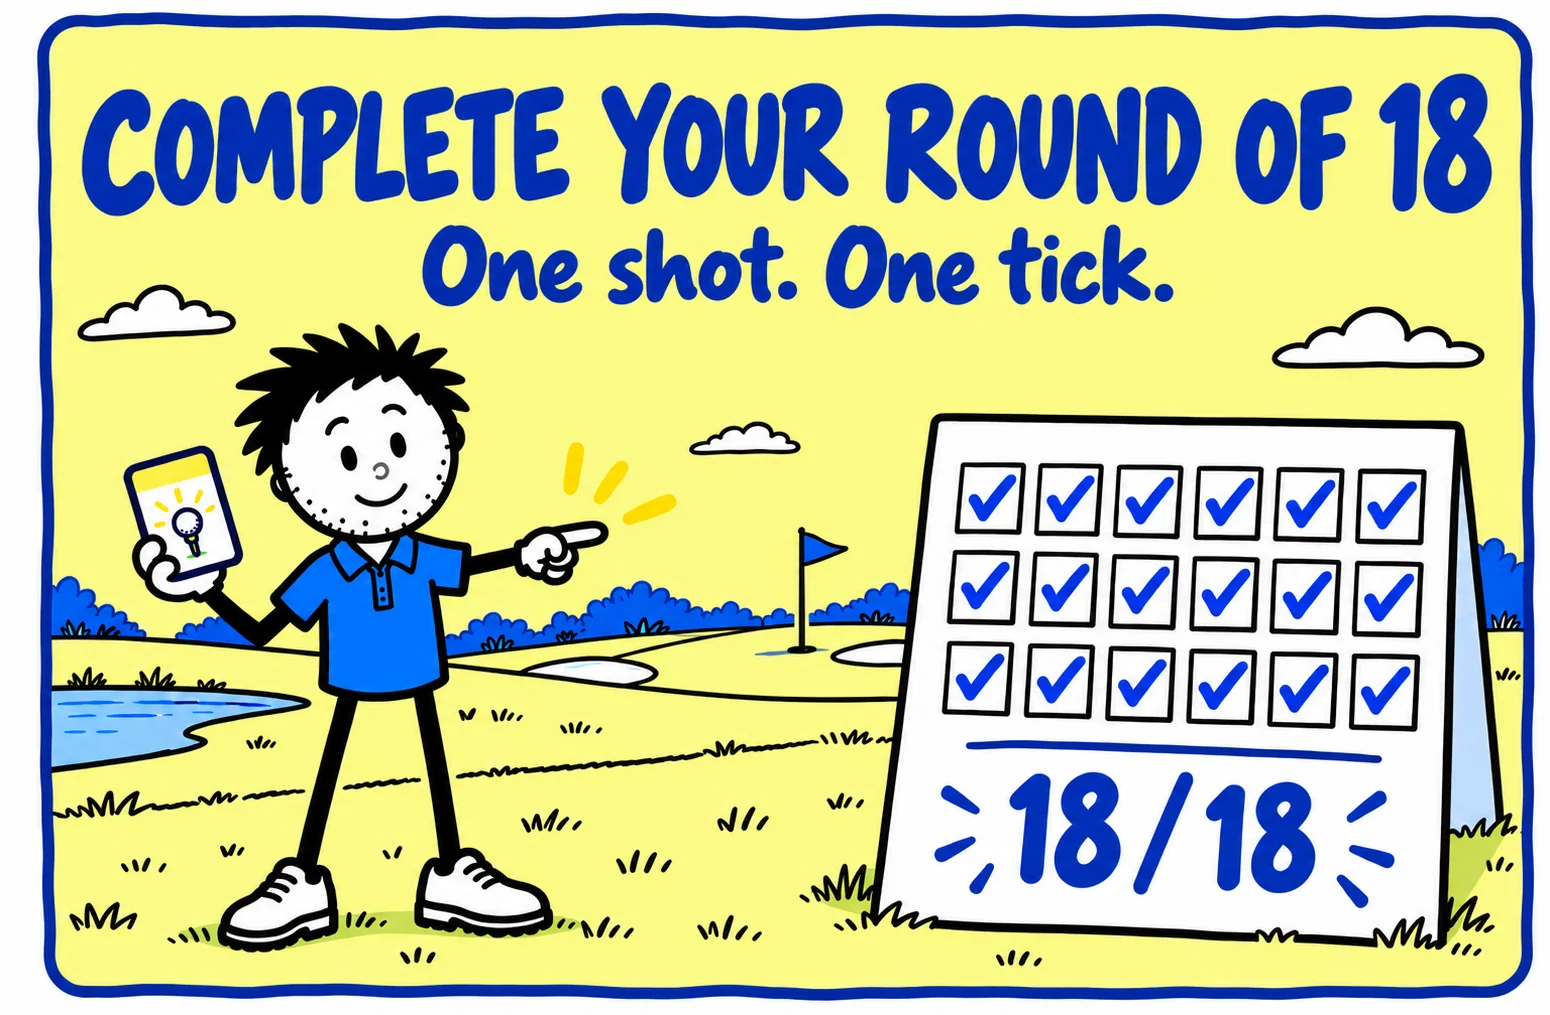
Play 18 short, easy shots in two sets of nine. Before each shot, make one gentle no-club or slow club rehearsal. Then use both hands on the grip and play a controlled shot, beginning with a small hip-height swing. Let the turn continue and notice how the lead arm moves through.
No-ball option: complete 18 gentle palm-up-and-return arm rehearsals in two sets of nine. One full through-and-return movement is one tick. Choose either shots or rehearsals for the round so you keep one clear counting method.
| Score | When to award it |
|---|---|
| 1 point | You complete the shot, routine or movement described above. |
| 0 points | You do not complete the attempt. |
George’s Conclusion
I like starting this drill without a club because the palm-up cue is easy to notice. Keep the elbow soft, let the body turn and take a small version of the feel into short shots. Look for a movement you can repeat comfortably, rather than trying to force the widest possible finish.
For a backswing wrist checkpoint, try the Down Out Up Drill. Explore the Lead Wrist Feel Drill, or browse more long game drills.
MAKE THE NEXT BUCKET COUNT
Pick a card. Practise with purpose.