

Browse by category
Move Gently Before You Play
Your practice at a glance
These golf drills are from the Golf Practice Made Fun App.
A few gentle movements can help you ease into golf before you start swinging at full speed.
This warm-up brings together supported hamstring hinges, controlled wrist lifts, sideways reaches and light resistance-band turns. Allow about two minutes for each of the first three exercises and three minutes for the band, leaving roughly a minute to move between them. Work towards the comfortable repetition ranges below without rushing; use fewer if you need to, keep breathing naturally and stop any movement that causes pain. Have a suitable secure band anchor ready, then follow the routine with a few easy practice swings.
Exercise 1. Hamstring Stretch: Hinge Gently from the Hips
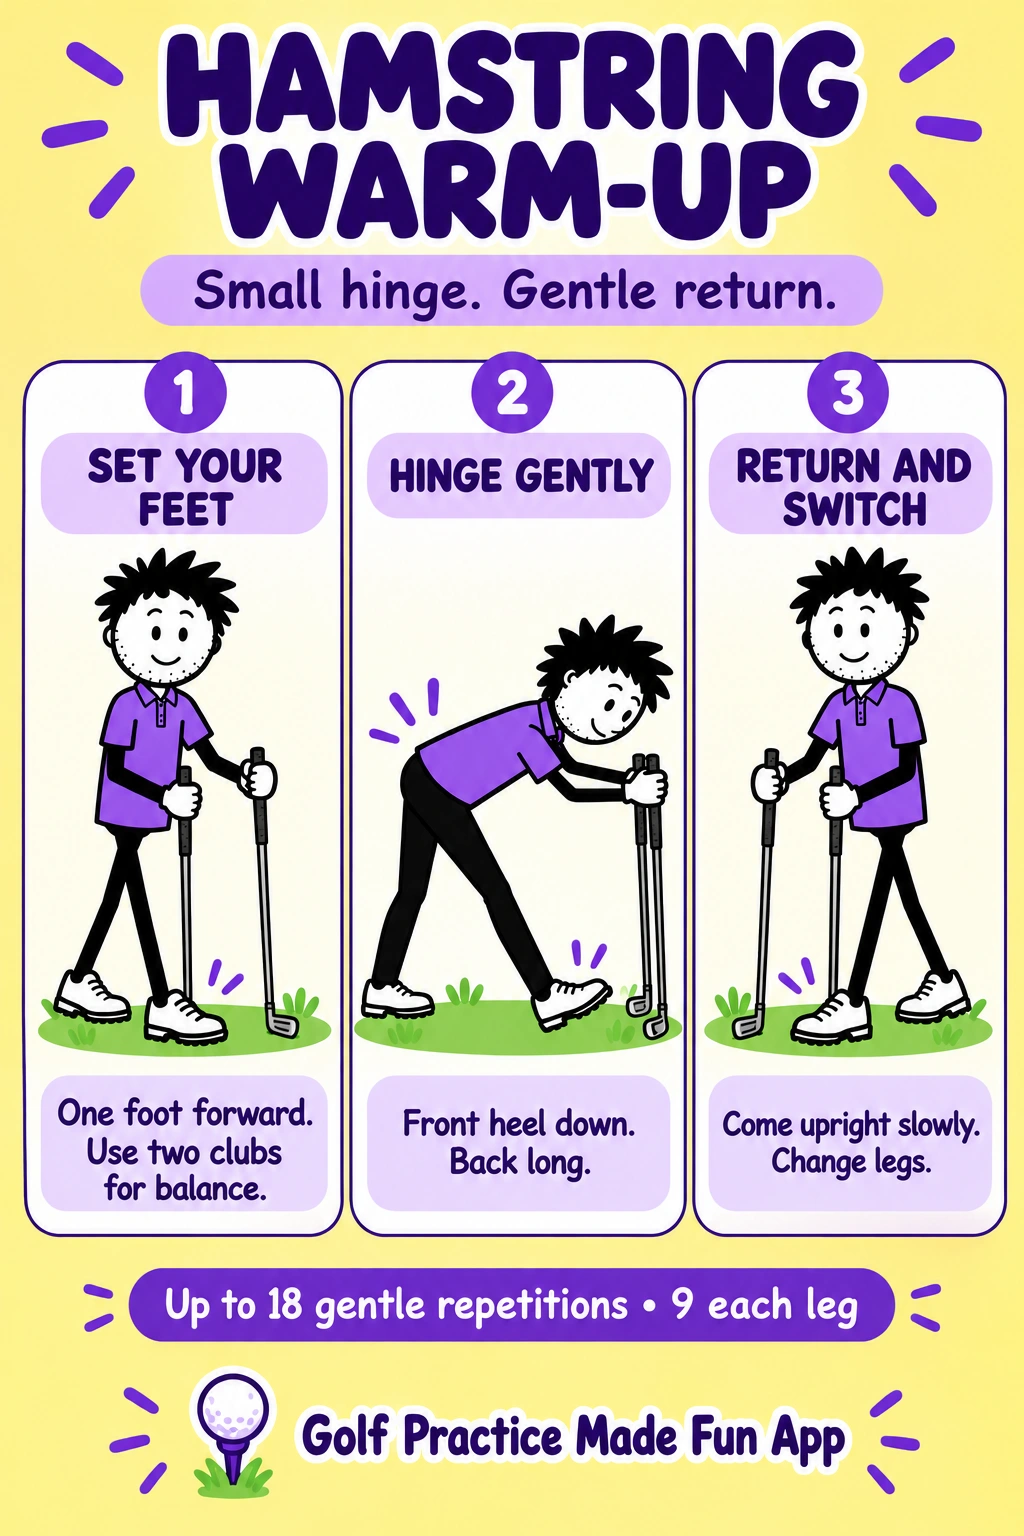
These gentle hamstring movements help you ease into the forward bend used in your golf setup. Moving from the hips while keeping your back long lets you explore a comfortable address position before you begin swinging.
| Step | What to do |
|---|---|
| 1 | Stand on level ground with a club in each hand and both clubheads on the ground for light balance support. Step one foot forward and the other back, leaving enough width to feel steady. |
| 2 | Keep your back long and hinge a little from your hips towards the front leg. Leave the front heel down; lift the toes only if comfortable. Aim for a mild stretch, then return slowly to standing. |
| 3 | Alternate legs for up to eighteen gentle hinge-and-return movements, nine with each leg forward. Allow about two minutes, with no bouncing or prolonged holds. Use fewer repetitions if that suits you better. |
See the supported positions and video in the Hamstring Stretch Golf Warm-Up Drill →
Exercise 2. Wrist Warm-Up: Lift and Lower with Control

Controlled wrist lifts gently engage the muscles that help you hold and move the club. Keeping your arms quiet and lowering the clubs slowly gives your wrists a gradual introduction to movement before you start hitting balls.
| Step | What to do |
|---|---|
| 1 | Stand steadily with a short iron in each hand, clubheads pointing down and arms resting by your sides. Keep your shoulders relaxed and your grip secure. |
| 2 | Lift the clubheads slowly using your wrists while your upper arms stay quiet beside your body. Lower them smoothly without allowing them to drop. Both clubs moving up and back down together count as one repetition. |
| 3 | Complete up to eighteen easy lift-and-lower cycles over about two minutes, resting whenever needed. Use a smaller movement or rehearse without clubs if they feel difficult to control. Finish before your wrists become tired. |
Explore the full Wrist Strengthening Golf Warm-Up Drill and teaching photographs →
Exercise 3. Side Stretch: Make Room to Move

A gentle side stretch gets your side body moving before the repeated turns and changes in posture of a golf swing. Giving both sides equal attention helps you notice any stiffness and find a comfortable range without forcing the stretch.
| Step | What to do |
|---|---|
| 1 | Take a comfortable wide stance and turn out the foot on the side you will reach towards. Keep your hips and chest facing forwards, with your arms at a comfortable height. |
| 2 | Reach gently sideways towards the turned-out foot. Rest the lower hand lightly on your thigh and raise the opposite arm only as far as comfortable. Keep this a sideways movement rather than folding forwards. |
| 3 | Return upright slowly and reset your feet. Do three reaches to one side, then three to the other; repeat that sequence up to three times for nine reaches each way. Allow about two minutes and shorten the reach whenever needed. |
See the full Side Stretch Golf Warm-Up Drill and starting positions →
Exercise 4. Band Hip Rotation: Turn and Return Smoothly
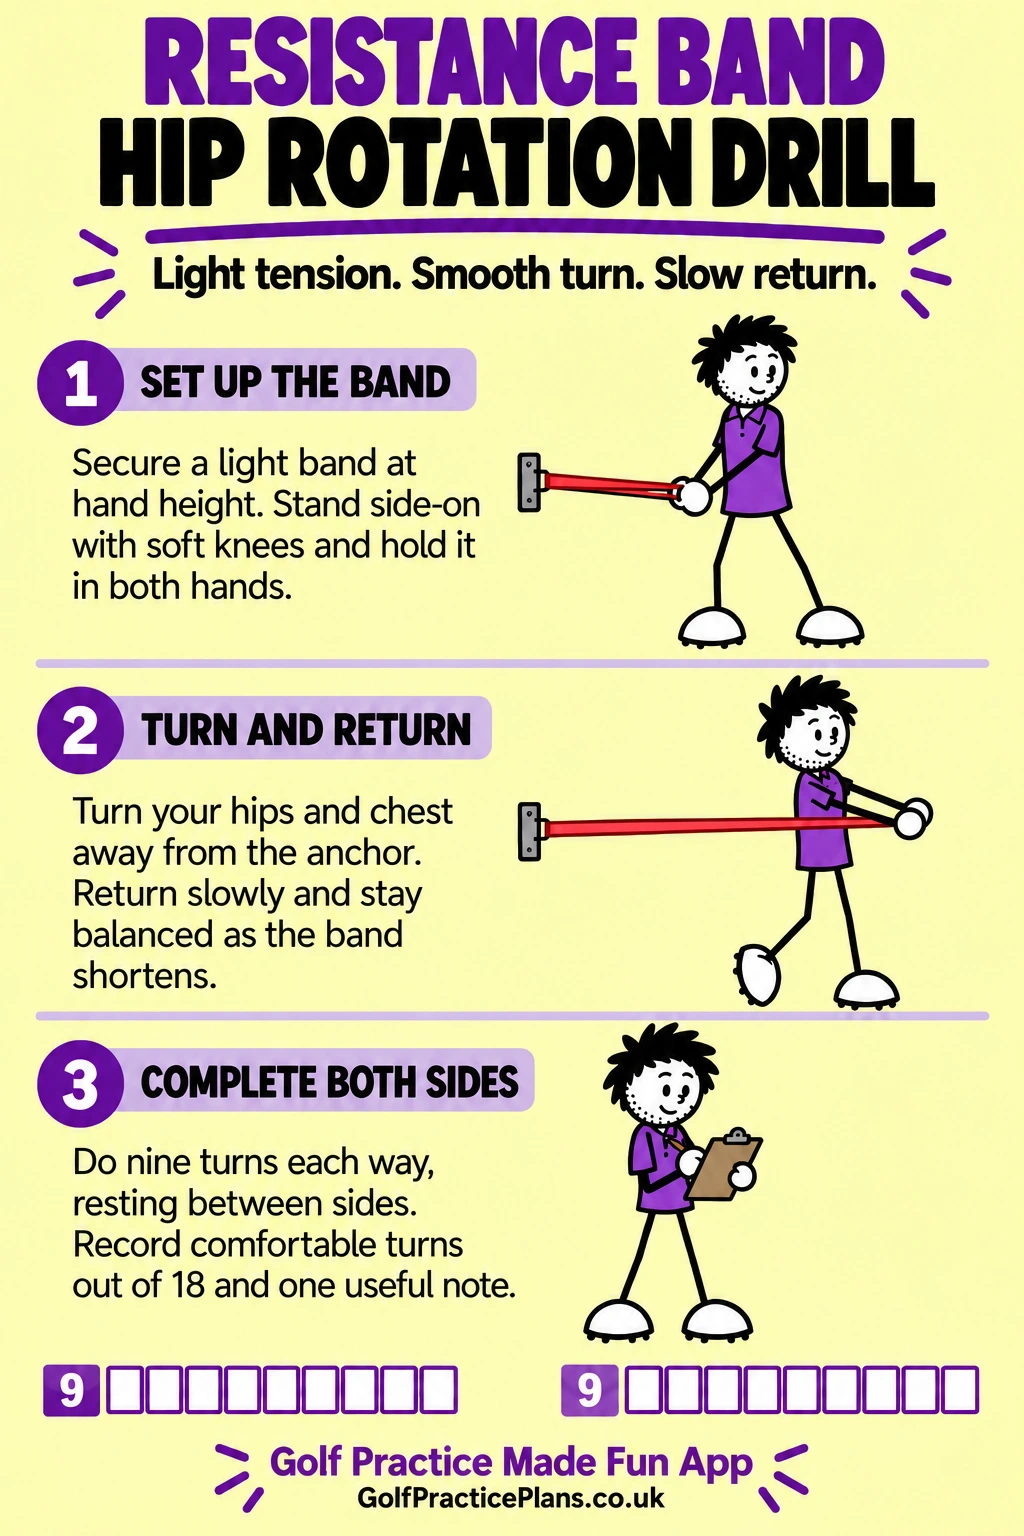
Light band turns let you rehearse moving your hips and chest together before you pick up a club. Controlling both the turn and the return brings your attention to balance and coordination, helping you begin your practice with a smooth movement.
| Step | What to do |
|---|---|
| 1 | Check a light resistance band for damage and attach it securely at hand height using a suitable anchor and the manufacturer’s instructions. Stand side-on with soft knees and hold the band in both hands beside the hip nearest the anchor. |
| 2 | Turn your hips and chest away from the anchor, carrying your hands towards the opposite hip. Keep the tension light, let your feet move naturally and control the return as the band shortens. |
| 3 | Complete up to nine turns, then turn around so the anchor is beside your other hip and repeat the other way. Allow about three minutes including the change of sides. Keep every turn comfortable rather than forcing a larger twist. |
Follow the full Resistance Band Hip Rotation Drill and setup checks →