
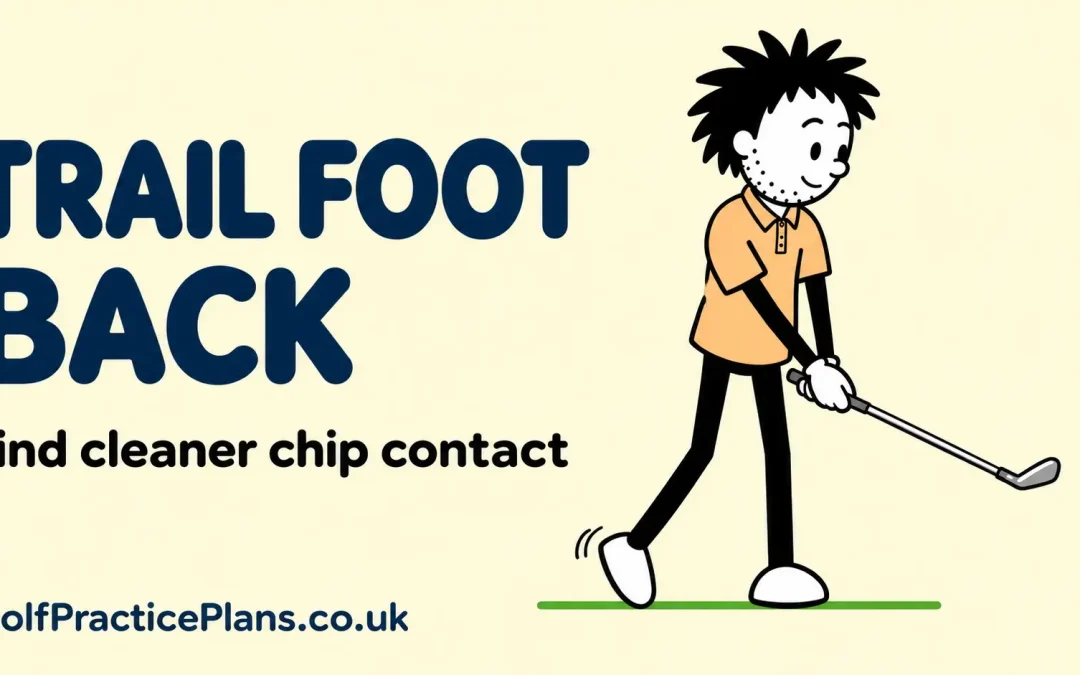
Trail Foot Back: Find Cleaner Chip Contact
Foot back. Pressure forwards.
Your trail heel gets a small lift, and your lead side gets the supporting role. Pull the trail foot back onto its toes and use that stance to practise a short chip. It gives you a clear balance check as you work on clean contact.
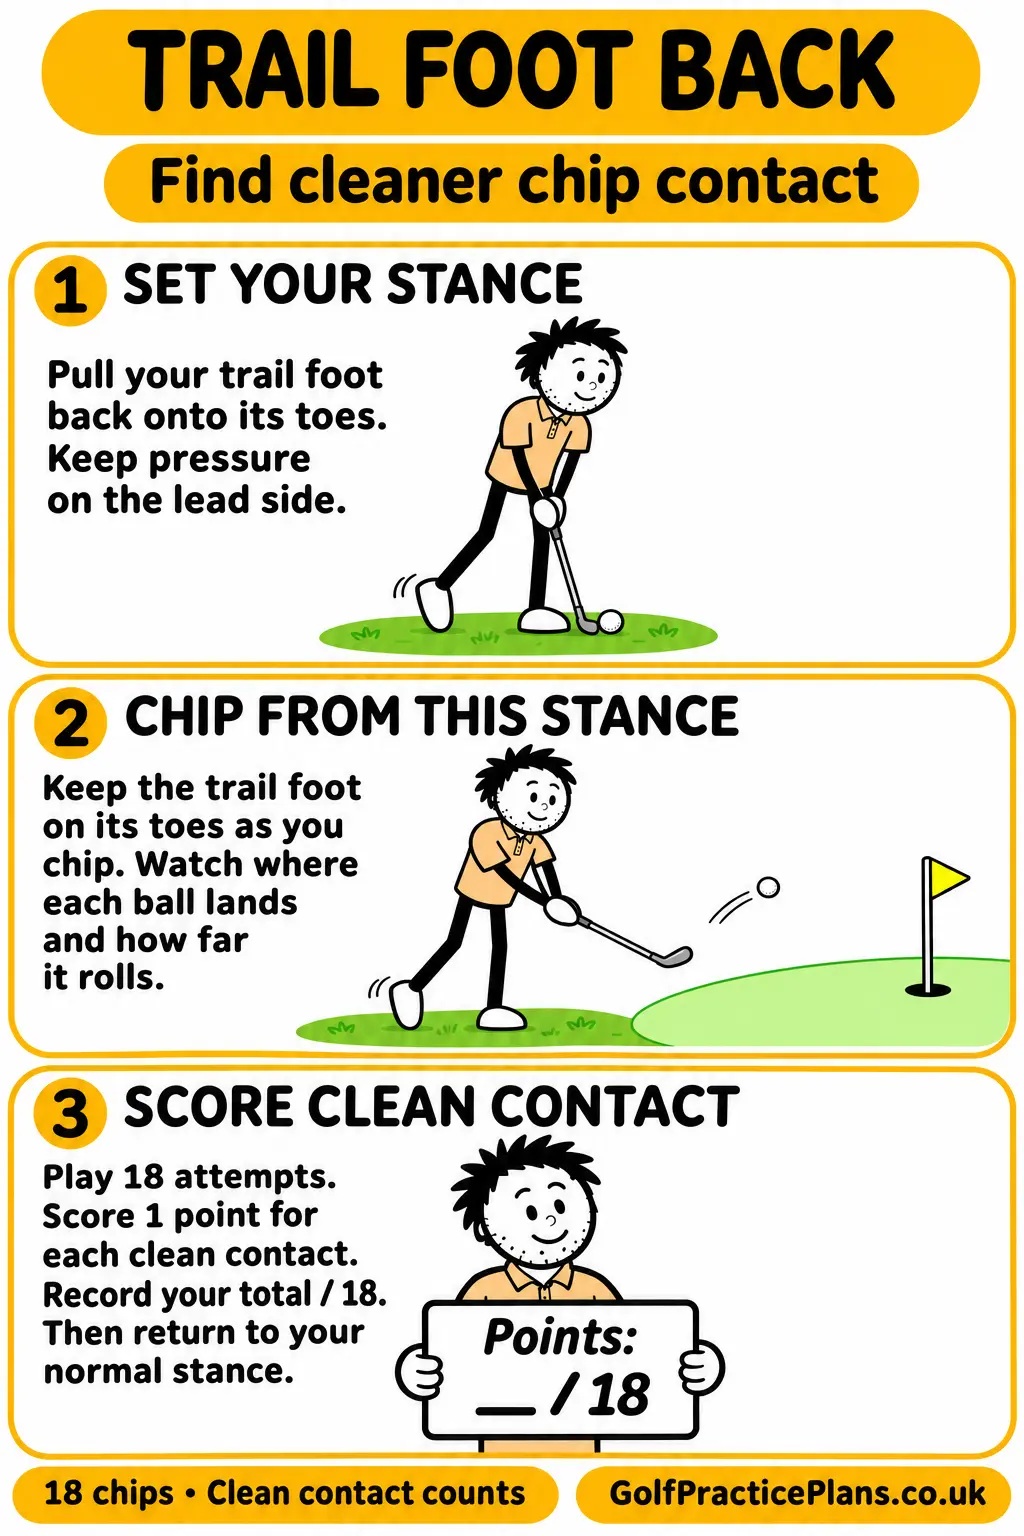
↓ Download free infographicSave to your device or print for practice.
Watch the trail-foot-back lesson
Watch Dan Grieve’s lesson on YouTube · Dan Grieve’s lesson notes at Golf Monthly
Step 1. Set your stance
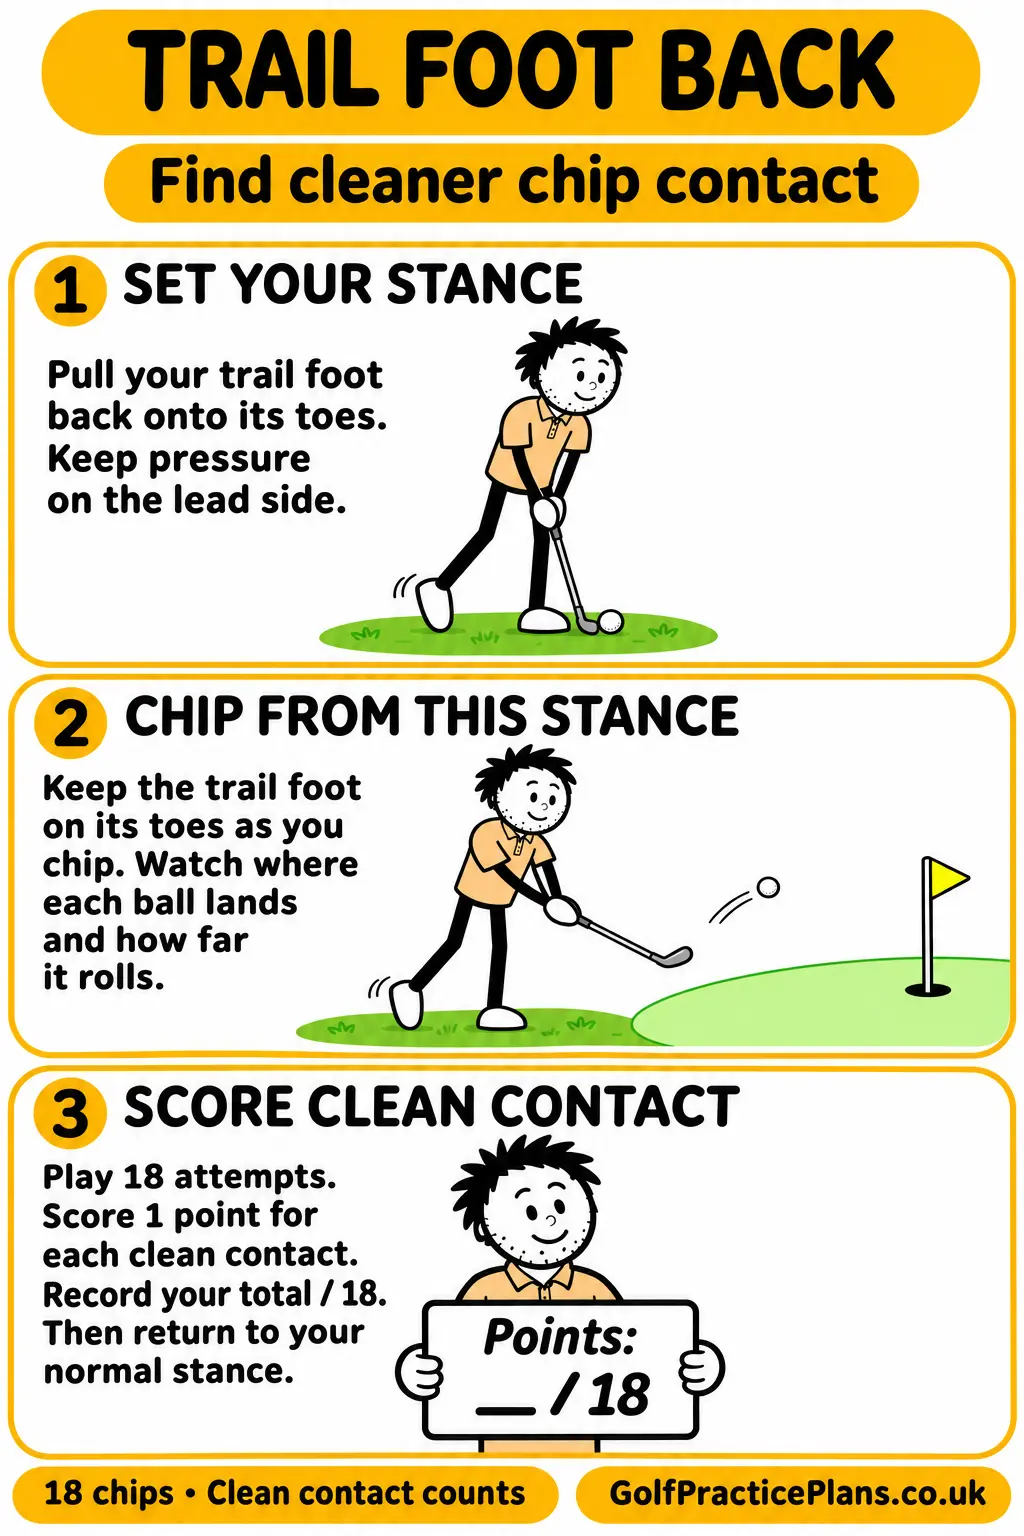
Pull your trail foot back onto its toes and keep pressure on the lead side.
Settle into a position you can maintain comfortably through a small chip. Keep the movement gentle while you get used to the stance.
Step 2. Chip from this stance
Play small chips while keeping the trail heel raised and pressure on the lead side.
Give each shot your attention from the strike until the ball stops. Keep the starting position and landing spot the same for the session.
Your cue: “Trail heel up. Pressure on the lead side.”
| Watch for | Try this |
|---|---|
| Letting the trail heel drop during the shot | Keep the chip small, pause after the finish and check the heel. |
| Becoming unsteady | Reset the stance and make a gentle rehearsal before playing the next ball. |
| Changing the starting spot or target | Keep the same lie and landing spot during the session. |
Step 3. Score clean contact
Play 18 attempts from the trail-foot-back stance and score one point for each clean contact.
Count every attempt and stop after 18. Add your points, record the total and then return to your normal stance.
After the practice session, use this score as your starting point for the next time you repeat the drill.
| Score | When to award it |
|---|---|
| 1 point | You make clean contact with the ball. |
| 0 points | You do not make clean contact. |
Record clean contacts: ___ / 18. Count every attempt and use the result as your starting point next time.
“I wasn’t just hitting balls around … I always liked to keep a score.”
Jack Nicklaus, describing his practice sessions
FAQs
Which foot goes back?
Move your trail foot back: the right foot for a right-handed golfer, or the left foot for a left-handed golfer. Raise its heel so the toes stay on the ground, while the lead foot remains flat.
Where should I feel the pressure?
Keep pressure on the lead side through the small chip. The trail toes remain in contact with the ground, with the heel raised. Settle into a stance you can maintain comfortably.
What should I do if the trail heel drops?
Pause and reset before the next attempt. Make a few small rehearsals to check your balance, then keep the chip short enough to maintain the stance through the finish.
How do I score this drill?
Play 18 attempts from the trail-foot-back stance. Score 1 for each clean contact with the ball and 0 when contact is not clean. Count every attempt, add the points and record your total out of 18.
Should I use this stance for every chip?
Use it for this practice session to explore lead-side pressure and contact, then return to your normal stance after recording the 18 attempts. Keep any useful feeling and compare it when you repeat the drill.
What drill do you recommend I do next?
Try Chipstick Drill next to practise steadier wrists and cleaner chip contact.
You could also use Chip to a Landing Spot to give each chip a clear landing target. For another focused practice task, try Soft Shot to explore a gentle hinge and a natural clubhead release.
Give your next practice a purpose.
This is Chipping Card 8 in the Golf Practice Made Fun App. Find illustrated drills, save your favourites and record your practice.
Try the App Free ↗14 days free · No card required