


Browse by category
DRILL OVERVIEW · PUTTING CARD 40
Wedge Putting: Strike the Ball’s Middle
Your drill at a glance

Find the middle. Feel the contact. Wedge Putting: Strike the Ball’s Middle is Putting Card 40 in the Golf Practice Made Fun App.
Use the leading edge of a wedge as a precise contact test. Grip down the club, hover its edge at the ball’s middle and use a tiny putting stroke. Keep the sole clear of the turf and notice both the contact and the ball’s starting direction.
Play 18 attempts, resetting before each one. Score one point whenever you make centred contact on the ball, then record your total out of 18.
Jump to set the leading edge, use a tiny stroke or reset and score.
Watch the wedge-putting lesson.
Rick Sessinghaus demonstrates the bladed wedge drill for Golf Tips Magazine. Watch how the wedge is used for a small putting motion and precise contact.
Step 1. Set the leading edge.
Choose a short putt, grip down the wedge and hover its leading edge at the height of the ball’s middle.
| Action | What to do |
|---|---|
| Choose your putt | Find a short putt on a level part of the practice green and pick your intended starting line. |
| Grip down the wedge | Hold farther down the grip so you can make a small, controlled putting movement. |
| Find the ball’s equator | Picture a horizontal line through the middle of the ball. |
| Set the leading edge | Hover the thin leading edge of the wedge at that height, just behind the ball. |
| Keep the sole clear | Hold the clubhead clear of the turf while you prepare to make the stroke. |
The close-up above shows the contact height. The leading edge meets the ball’s middle while the sole stays above the grass.
Step 2. Use a tiny stroke.
Make a small putting motion and aim to contact the ball’s equator with the leading edge.
| Action | What to do |
|---|---|
| Keep the movement small | Use a tiny back-and-through putting stroke suitable for the short putt. |
| Contact the middle | Bring the leading edge into the ball at equator height. |
| Keep the sole off the turf | Maintain the clubhead’s clearance through the movement. |
| Notice the strike | Check whether contact felt centred on the ball. |
| Watch the start | Observe whether the ball starts on the line you intended. |
Return your attention to the contact height before the next attempt. One ball is enough for the practice session.
Step 3. Reset and score.
Reset before every attempt, count centred contacts and record your total out of 18.
| Action | What to do |
|---|---|
| Reset each time | Return the ball to your starting position and check your grip, edge height and intended line. |
| Complete 18 attempts | Use the same small putting motion throughout the practice session. |
| Award one point | Count one point for each centred contact on the ball. |
| Record your total | Add your centred contacts and record the result out of 18. Higher is better. |
| Keep a short note | Record what you noticed about contact and the ball’s starting direction. |
Your practice record
| Part of the practice session | Record |
|---|---|
| Attempts completed | ___ / 18 |
| Centred-contact score | ___ / 18 |
| Starting direction | What I noticed: ___ |
| Next practice session | One setup or stroke cue to repeat: ___ |
Score the contact. Award one point for centred contact on the ball. Keep your starting-direction observations in your notes alongside the total.
George’s Practice Tip.
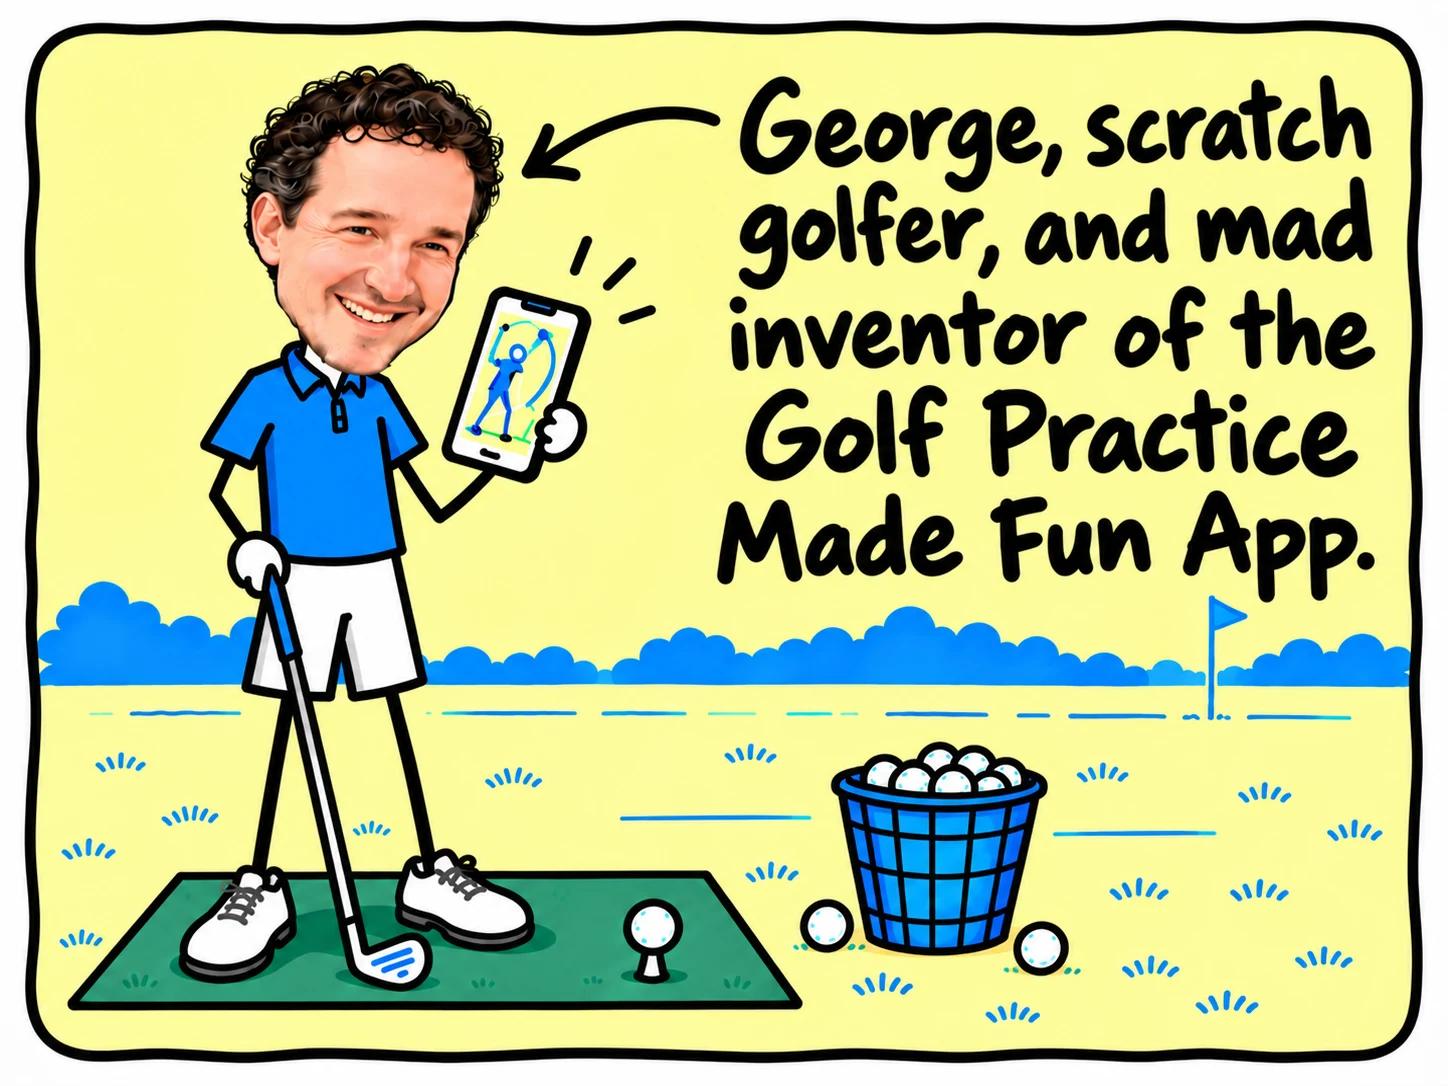
Give the setup a moment before every attempt. Check that the edge is at the ball’s middle, then make the smallest stroke you need for the short putt.
After the practice session, write one useful sentence about the contact. Keep the score alongside your note so you have something clear to compare next time.
For another contact-feedback task, try Coin on the Face. To compare one-handed and two-handed contact, use Lead-Hand Putting.
MAKE THE NEXT BUCKET COUNT
Pick a card. Practise with purpose.
