
Browse by category
DRILL OVERVIEW · PUTTING CARD 17
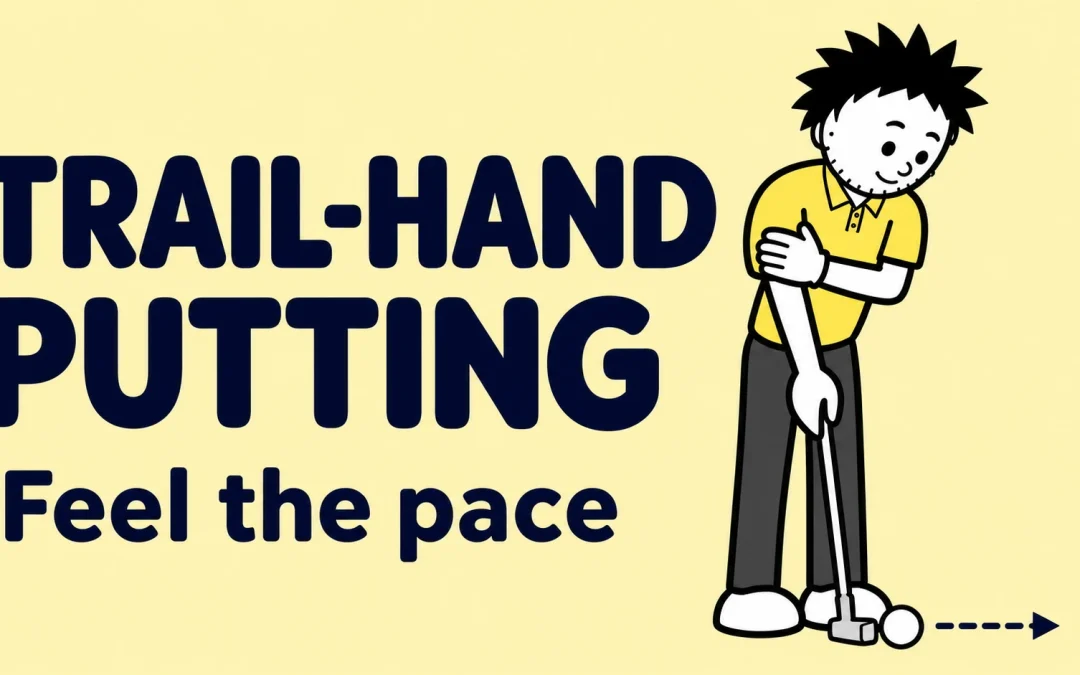
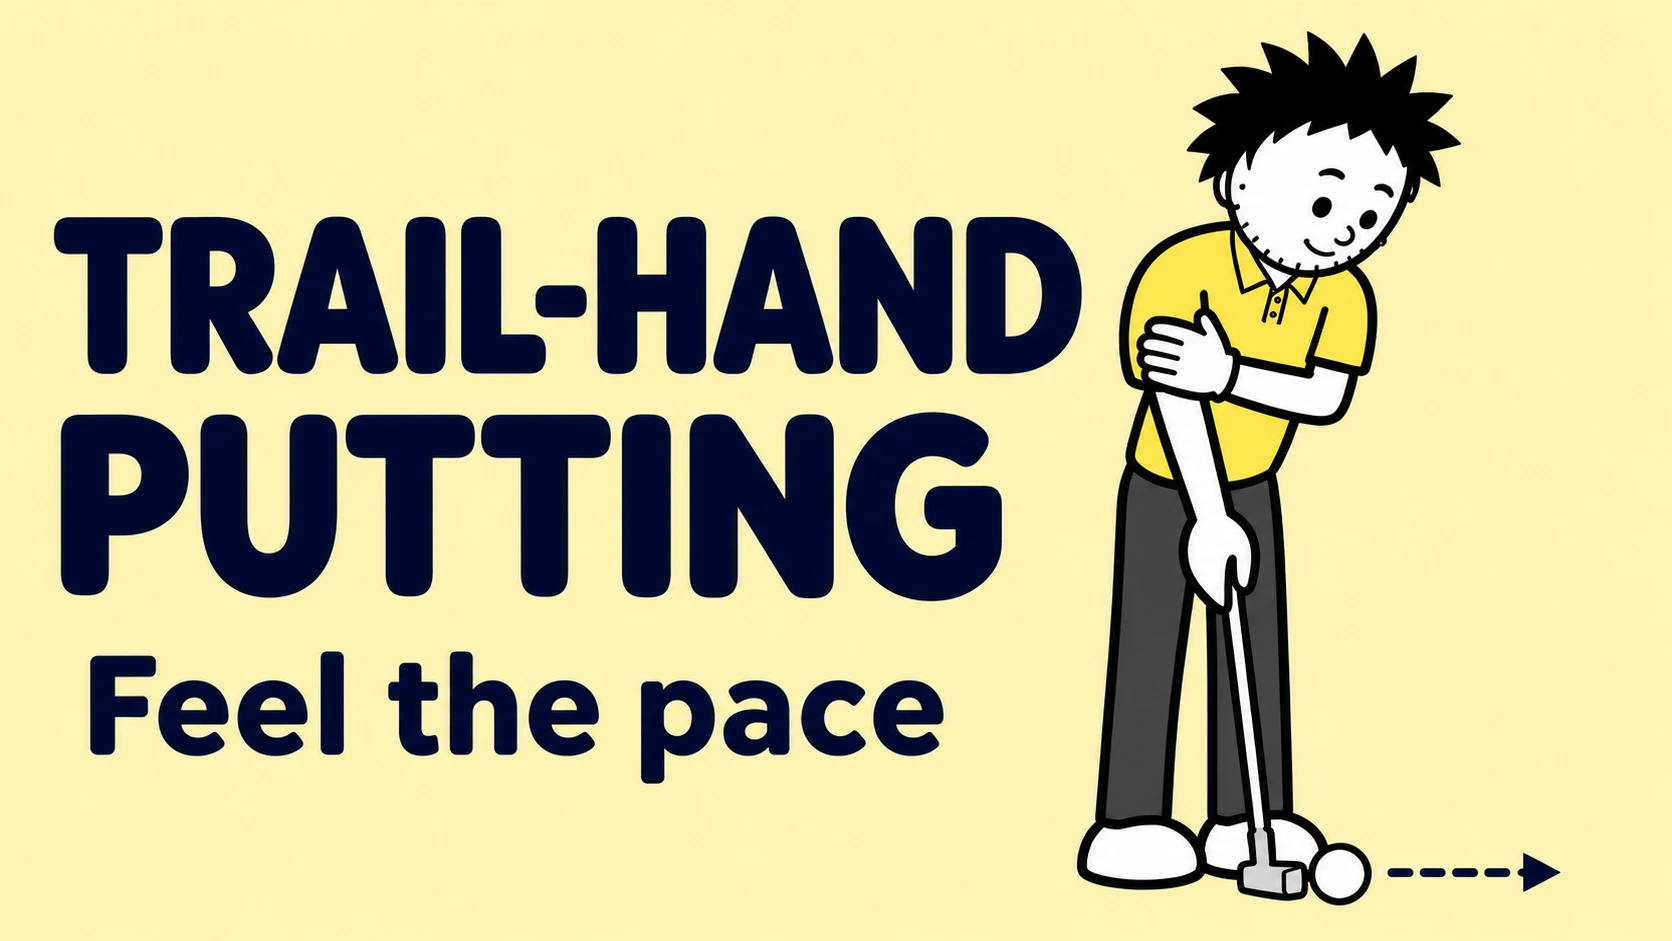
Trail-Hand Putting: Feel the Pace
Your drill at a glance

This is Putting card seventeen, Trail-Hand Putting: Feel the Pace, in the Golf Practice Made Fun App.
Explore your feel for putting pace with a simple comparison. Play nine putts with only your trail hand holding the putter, then nine with both hands from the same spot. Compare where the two groups finish in relation to the hole.
Your trail hand is your right hand if you play right-handed, or your left hand if you play left-handed. In the one-handed setup shown in the lesson, your free lead hand rests on your trail bicep.
Jump to trail hand only, add both hands or compare the finishes.
Watch the trail-hand putting lesson.
This Stevemooregolf lesson demonstrates the supported trail-hand setup. Aim with both hands on the putter first, then move your lead hand onto your trail bicep before making the stroke.
Step 1. Putt with your trail hand only.
| Action | What to do |
|---|---|
| Choose your starting spot | Pick a putt to a hole on the practice green. Keep this starting spot and hole for both groups. |
| Aim with both hands | Set up normally with both hands on the putter. Place the face behind the ball and aim it along your chosen start line. |
| Support the trail arm | Take your lead hand off the grip and rest it on your trail bicep, as shown in the video. Only your trail hand holds the putter. |
| Play nine putts | Make nine trail-hand-only putts. Pause between attempts and check your line and pace before starting again. |
| Notice the finishes | Note each ball’s finish distance from the hole so you can compare this group with the next. |
The lead hand stays connected to the trail upper arm throughout this setup. That is the small support detail demonstrated in the lesson.
Step 2. Add both hands from the same spot.
| Action | What to do |
|---|---|
| Return to the same spot | Use the same starting position and the same hole as the trail-hand group. |
| Restore your normal grip | Put both hands on the putter and settle into your usual comfortable stance. |
| Play nine more putts | Roll nine putts with both hands. Pause between putts and check your line and pace again. |
| Keep separate notes | Record where this second group finishes. Keep its notes separate from the trail-hand-only group. |
You can retrieve and reuse your balls between groups. Keep track of which method you used for each set of nine.
Step 3. Compare the finishes and complete your round.
| Action | What to do |
|---|---|
| Complete all 18 putts | Finish nine trail-hand-only putts and nine two-handed putts. |
| Compare finish distances | Look at how far each group’s putts finished from the hole. Note which group finished closer and whether balls tended to finish short or long. |
| Record both groups | Write a separate note for each method, then add a short comparison after all 18 attempts. |
| Record completed attempts | Count each completed putt once. A full round is 18 completed attempts. |
Your practice record
| Part of the round | Record |
|---|---|
| Trail hand only | ___ / 9 completed. Finish distances and notes: ___ |
| Both hands | ___ / 9 completed. Finish distances and notes: ___ |
| Total attempts completed | ___ / 18 |
| Comparison | Which group finished closer? What did you notice about pace? |
Keep the completion total and your observations together. Record all 18 completed putts, then use the two groups’ finish notes to reflect on your feel for pace.
George’s Practice Tip.
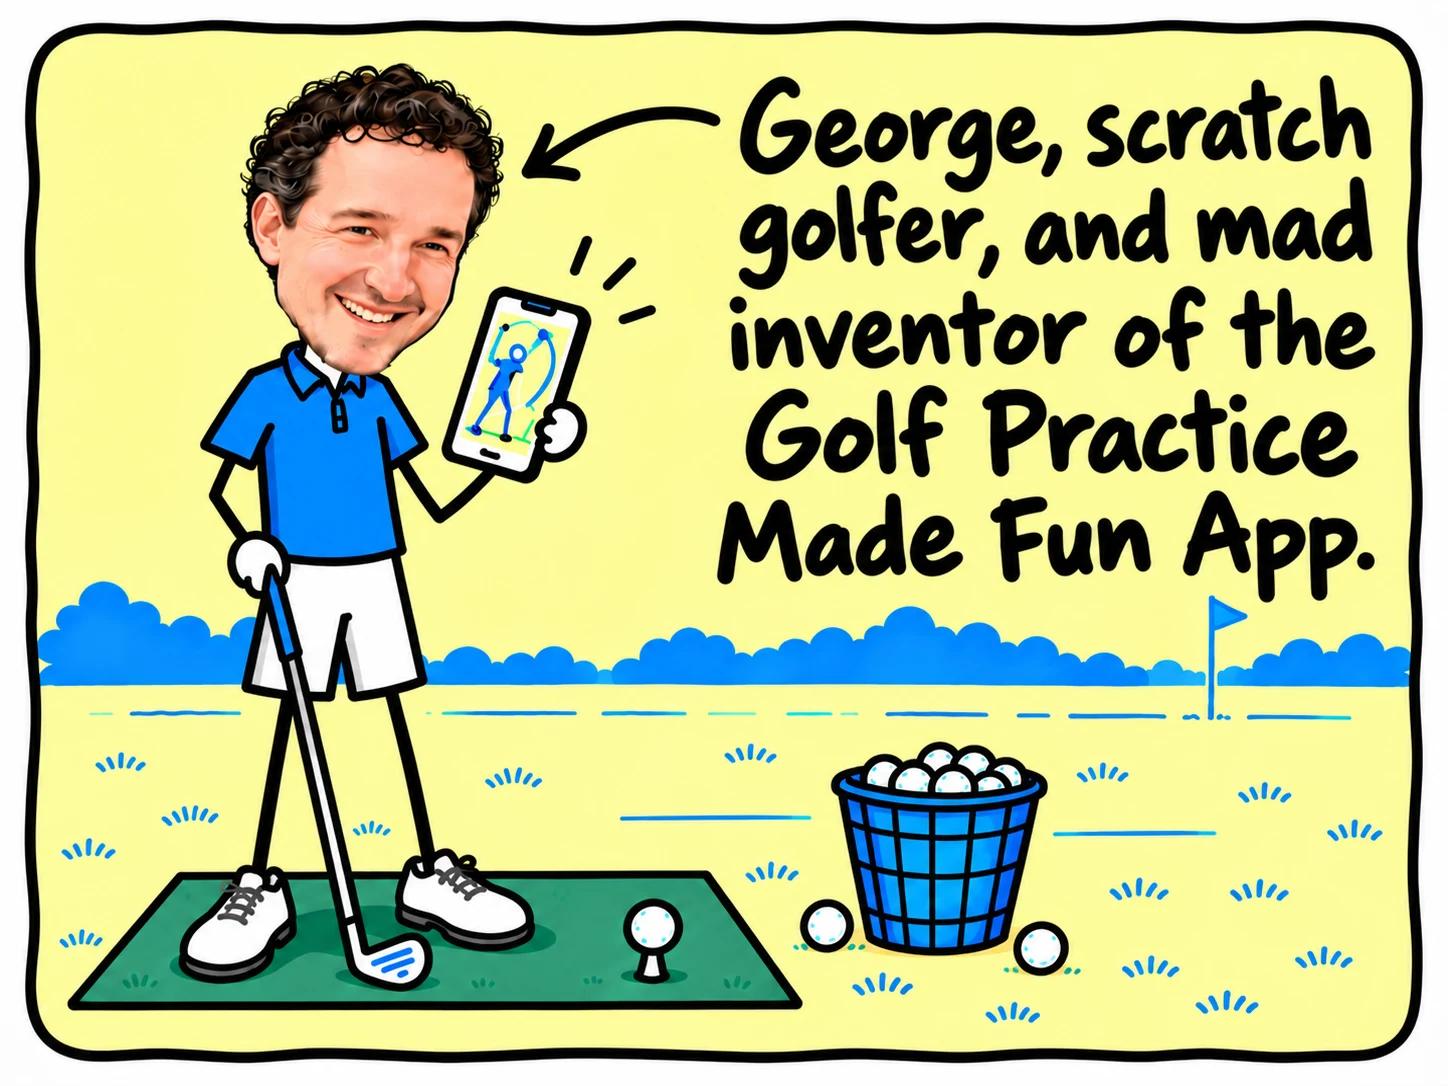
Give both methods the same putt. Moving closer for the second group is a very efficient way to impress yourself, but it does rather spoil the comparison.
For a separate rhythm session, try Metronome Putting. To check your setup before starting, try the Mirror Check drill. Browse more putting drills for your next practice session.
MAKE THE NEXT BUCKET COUNT
Pick a card. Practise with purpose.
