Browse by category
DRILL OVERVIEW
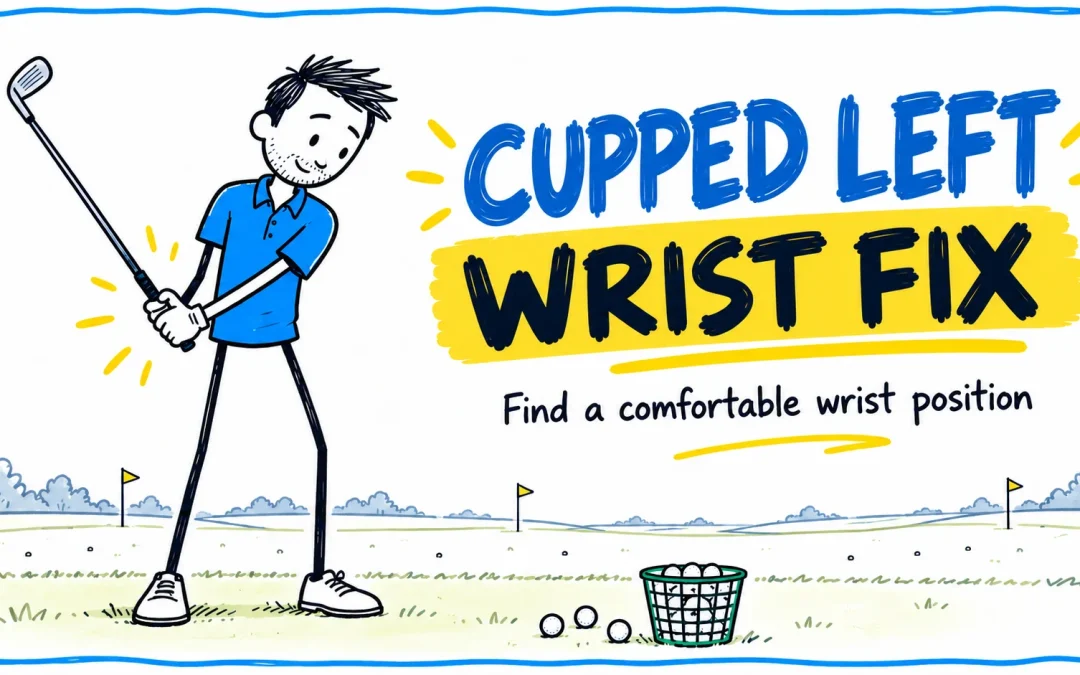
Cupped Left Wrist Fix Drill: Explore Your Lead-Wrist Position
Your drill at a glance
This drill is from the Golf Practice Made Fun App.
Step 1. Watch the cupped left wrist fix
Watch the reverse-motorcycle feel, then the alternative rehearsals. Notice how a small change in wrist position affects the club as it travels back.
Step 2. Choose one wrist-position rehearsal
Start with the reverse-motorcycle feel
During a slow backswing, explore the “reverse motorcycle” feel shown in the video: a small movement towards a flatter or gently bowed lead wrist. “Cupped” describes the back of the hand bending towards the forearm; “bowed” describes the opposite bend.
Pause around lead-arm-parallel and notice the wrist position. Let the club pitch upwards as shown in the demonstration, with the butt of the shaft pointing approximately towards the ball area. Keep the change small and comfortable; avoid forcing a large bow or bouncing the club at the top.
Option 1. Start beyond impact and swing back

Without a ball, start with the club extended a little beyond the impact position. From there, swing back gently to explore how your lead wrist settles during the backswing.
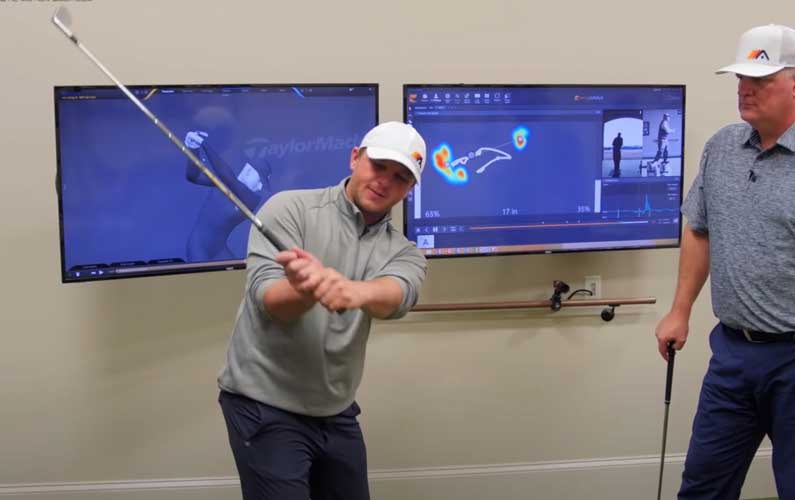
Pause halfway back. Look for the small change shown in the demonstration, rather than forcing the wrist into a fixed angle.
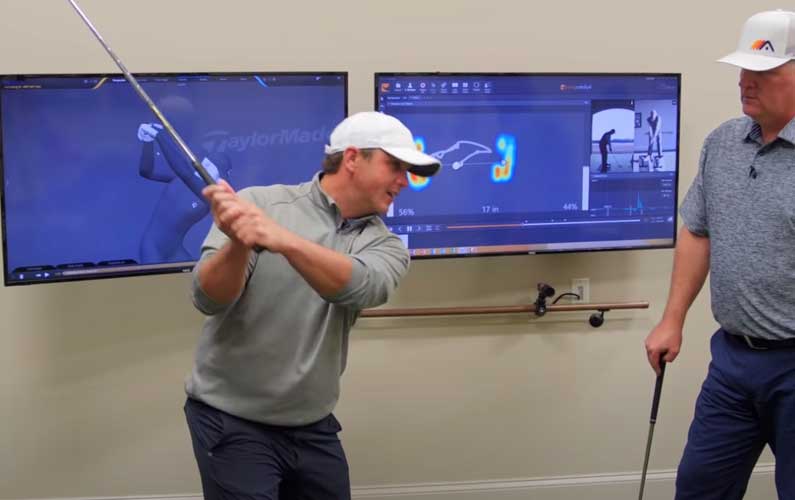
Continue towards the top with a little more body turn and arm lift. Use a comfortable swing length and keep the movement smooth.
Option 2. Use a tee as feedback

For a slow rehearsal, place a golf tee between your lead hand and the grip as shown. Make a gentle backswing and notice whether the tee stays in place.

If the tee drops, reset and compare the wrist position. Treat it as feedback alongside the video or a mirror: tee placement and grip pressure can also affect whether it stays put. Use this option without hitting a ball.
Option 3. Explore the thumbs-up cue

Try the demonstration’s “thumbs towards the sky” cue during a slow backswing. Compare how your lead wrist looks and feels. Keep your normal grip and stop short of any position that feels forced.
Option 4. Try a split-hand rehearsal

Use the driver to try the split-hand feel shown in the video. Separate your hands while keeping both securely on the grip.

Set up without a ball and make a gentle backswing. Notice whether the wider feel helps you find a comfortable lead-wrist position.

Pause near the top, then return slowly. Keep this as a rehearsal; return to your normal grip before hitting balls.
| Practice option | What to notice |
|---|---|
| Start beyond impact | How the wrist settles as you swing back. |
| Tee feedback | Tee movement alongside your wrist position. |
| Thumbs-up cue | A small change in the feel at the top. |
| Split hands | Whether extra width makes the movement easier. |
Choose one option for this session. Practise slowly, keep your grip secure and use a comfortable range of movement.
Step 3. Complete 18 practice repetitions

Complete 18 slow rehearsals with your chosen option. One repetition is a full rehearsal from its starting position, through the backswing checkpoint, and back to a relaxed starting position.
Reset between repetitions. At home, use a mirror if you have room. At the range, you can complete all 18 rehearsals without a ball, then try a few easy shots with your normal grip to see whether the feel carries over.
If you’re using the Golf Practice Made Fun App, tick one box in your Practice Round after each completed rehearsal. Your target is 18 rehearsals completed.
Add one short note naming the option you used and whether it made your wrist position easier to notice. This practice round consists of drill repetitions.
| Round | What to do |
|---|---|
| First nine | Complete nine slow rehearsals with your chosen option, returning to a relaxed starting position each time. |
| Second nine | Pause, then repeat nine with the same option. Use the same comfortable range. |
| Record | Record rehearsals completed out of 18 and one note about chosen option and wrist awareness. |
George’s Conclusion
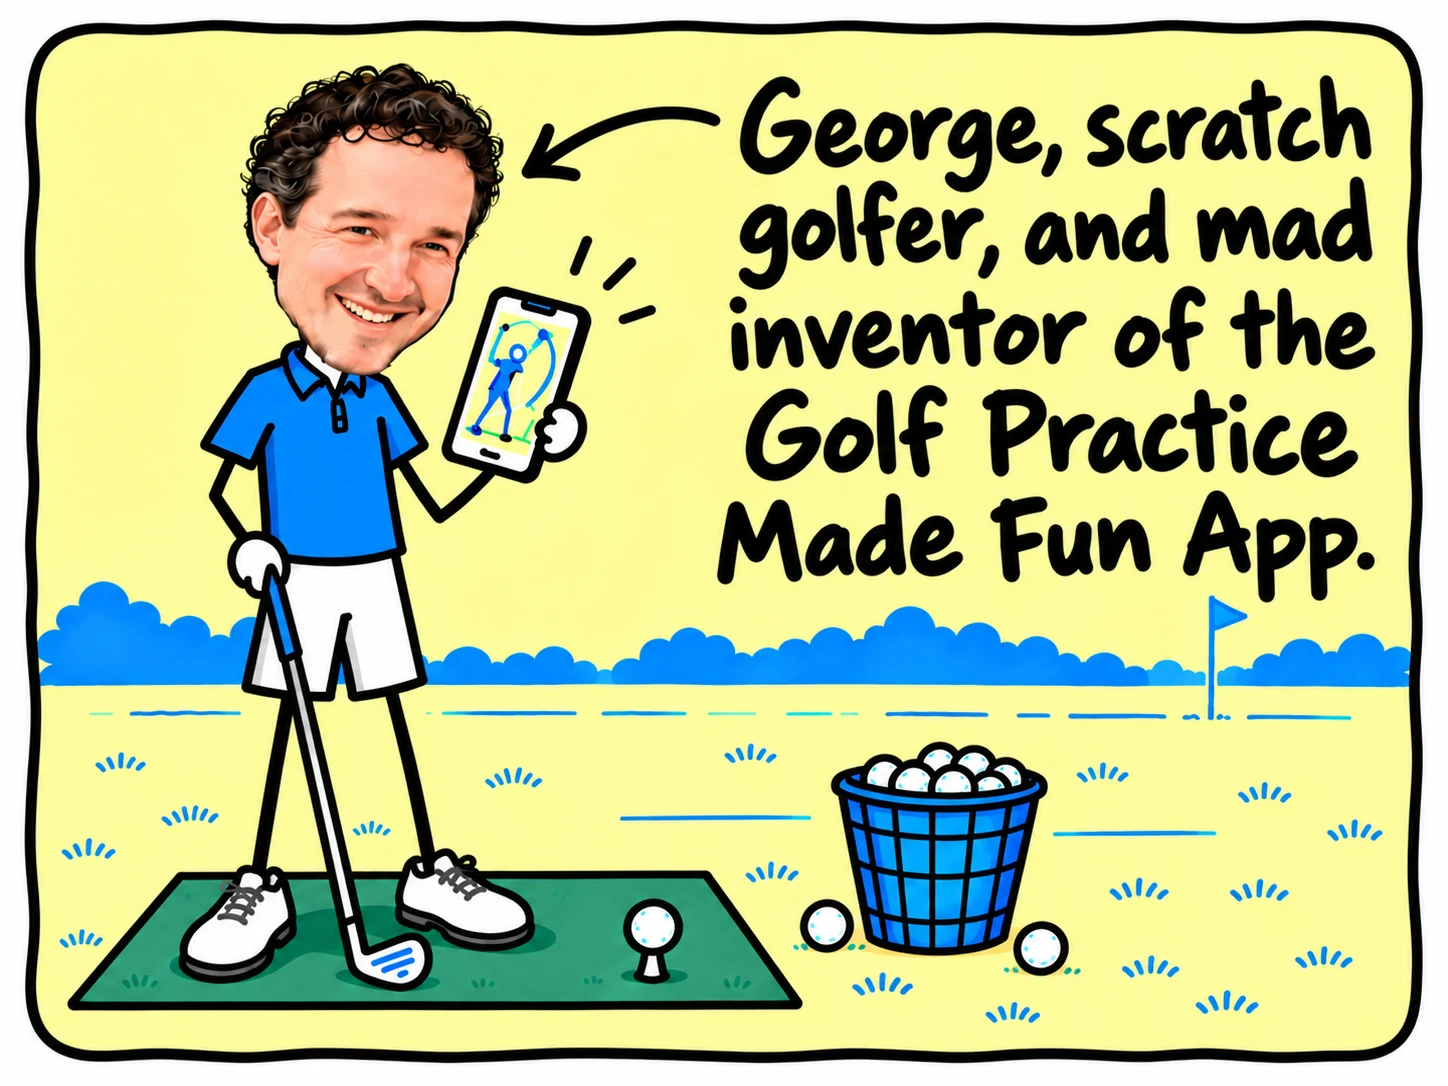
Pick one feel and give it a quiet, unhurried practice session. A small wrist-position change is easier to explore in a slow rehearsal than in a full-speed swing. Complete your 18 repetitions, note what helped, then test the feeling with your normal grip.
For a related release rehearsal, try the Phil Mickelson Move Drill.
MAKE THE NEXT BUCKET COUNT
Pick a card. Practise with purpose.